
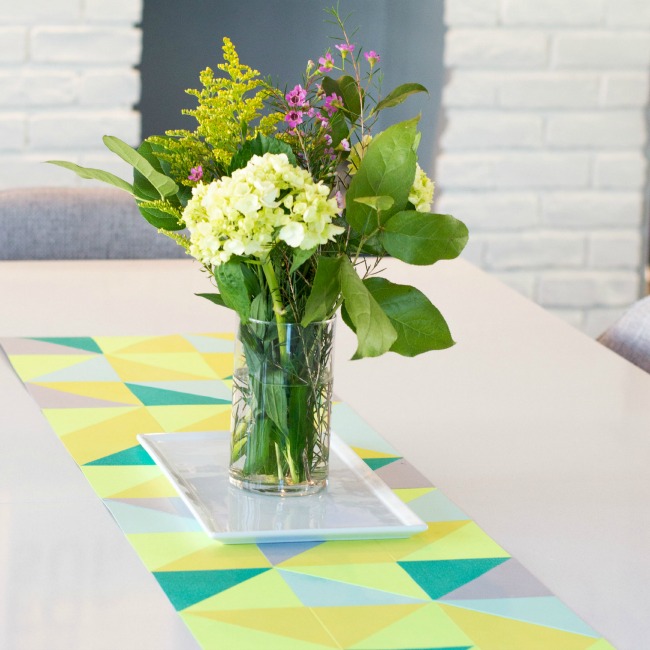
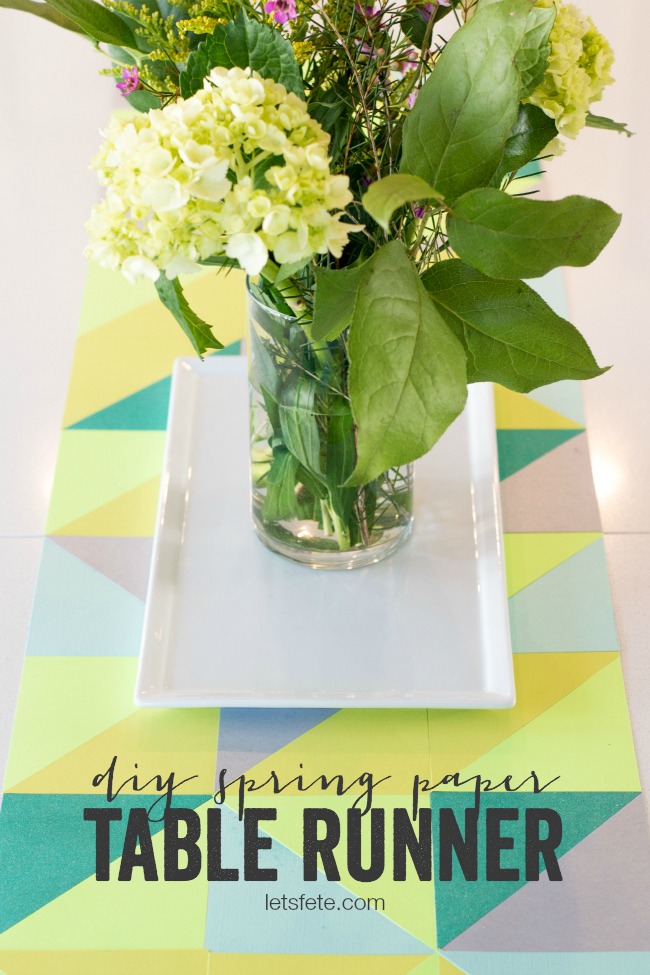
DIY Spring Paper Table Runner
 Hi, Amanda Bruyere here from Let’s Fête. I am really excited to be part of the creative team here on A Night Owl Blog – a very inspiring place to be! I don’t know about you, but I am desperately waiting signs of spring here in New England. While it might look nothing like spring outside, luckily I am the one in control of bringing it inside. The first place I look when I want to start changing décor up, is my dining table. We have an open floor plan so we always see it, and this is where people tend to gather. So today we’re going to be sharing a DIY Spring Paper Table Runner!
I’ve been really into building with paper and geometric shapes lately, so I took that momentum into a table runner. Not an artist? Can only handle some scissors and glue when it comes to crafting? Then this is perfect for you! It’s much easier than it looks…and super high impact!
This is what you’ll need:
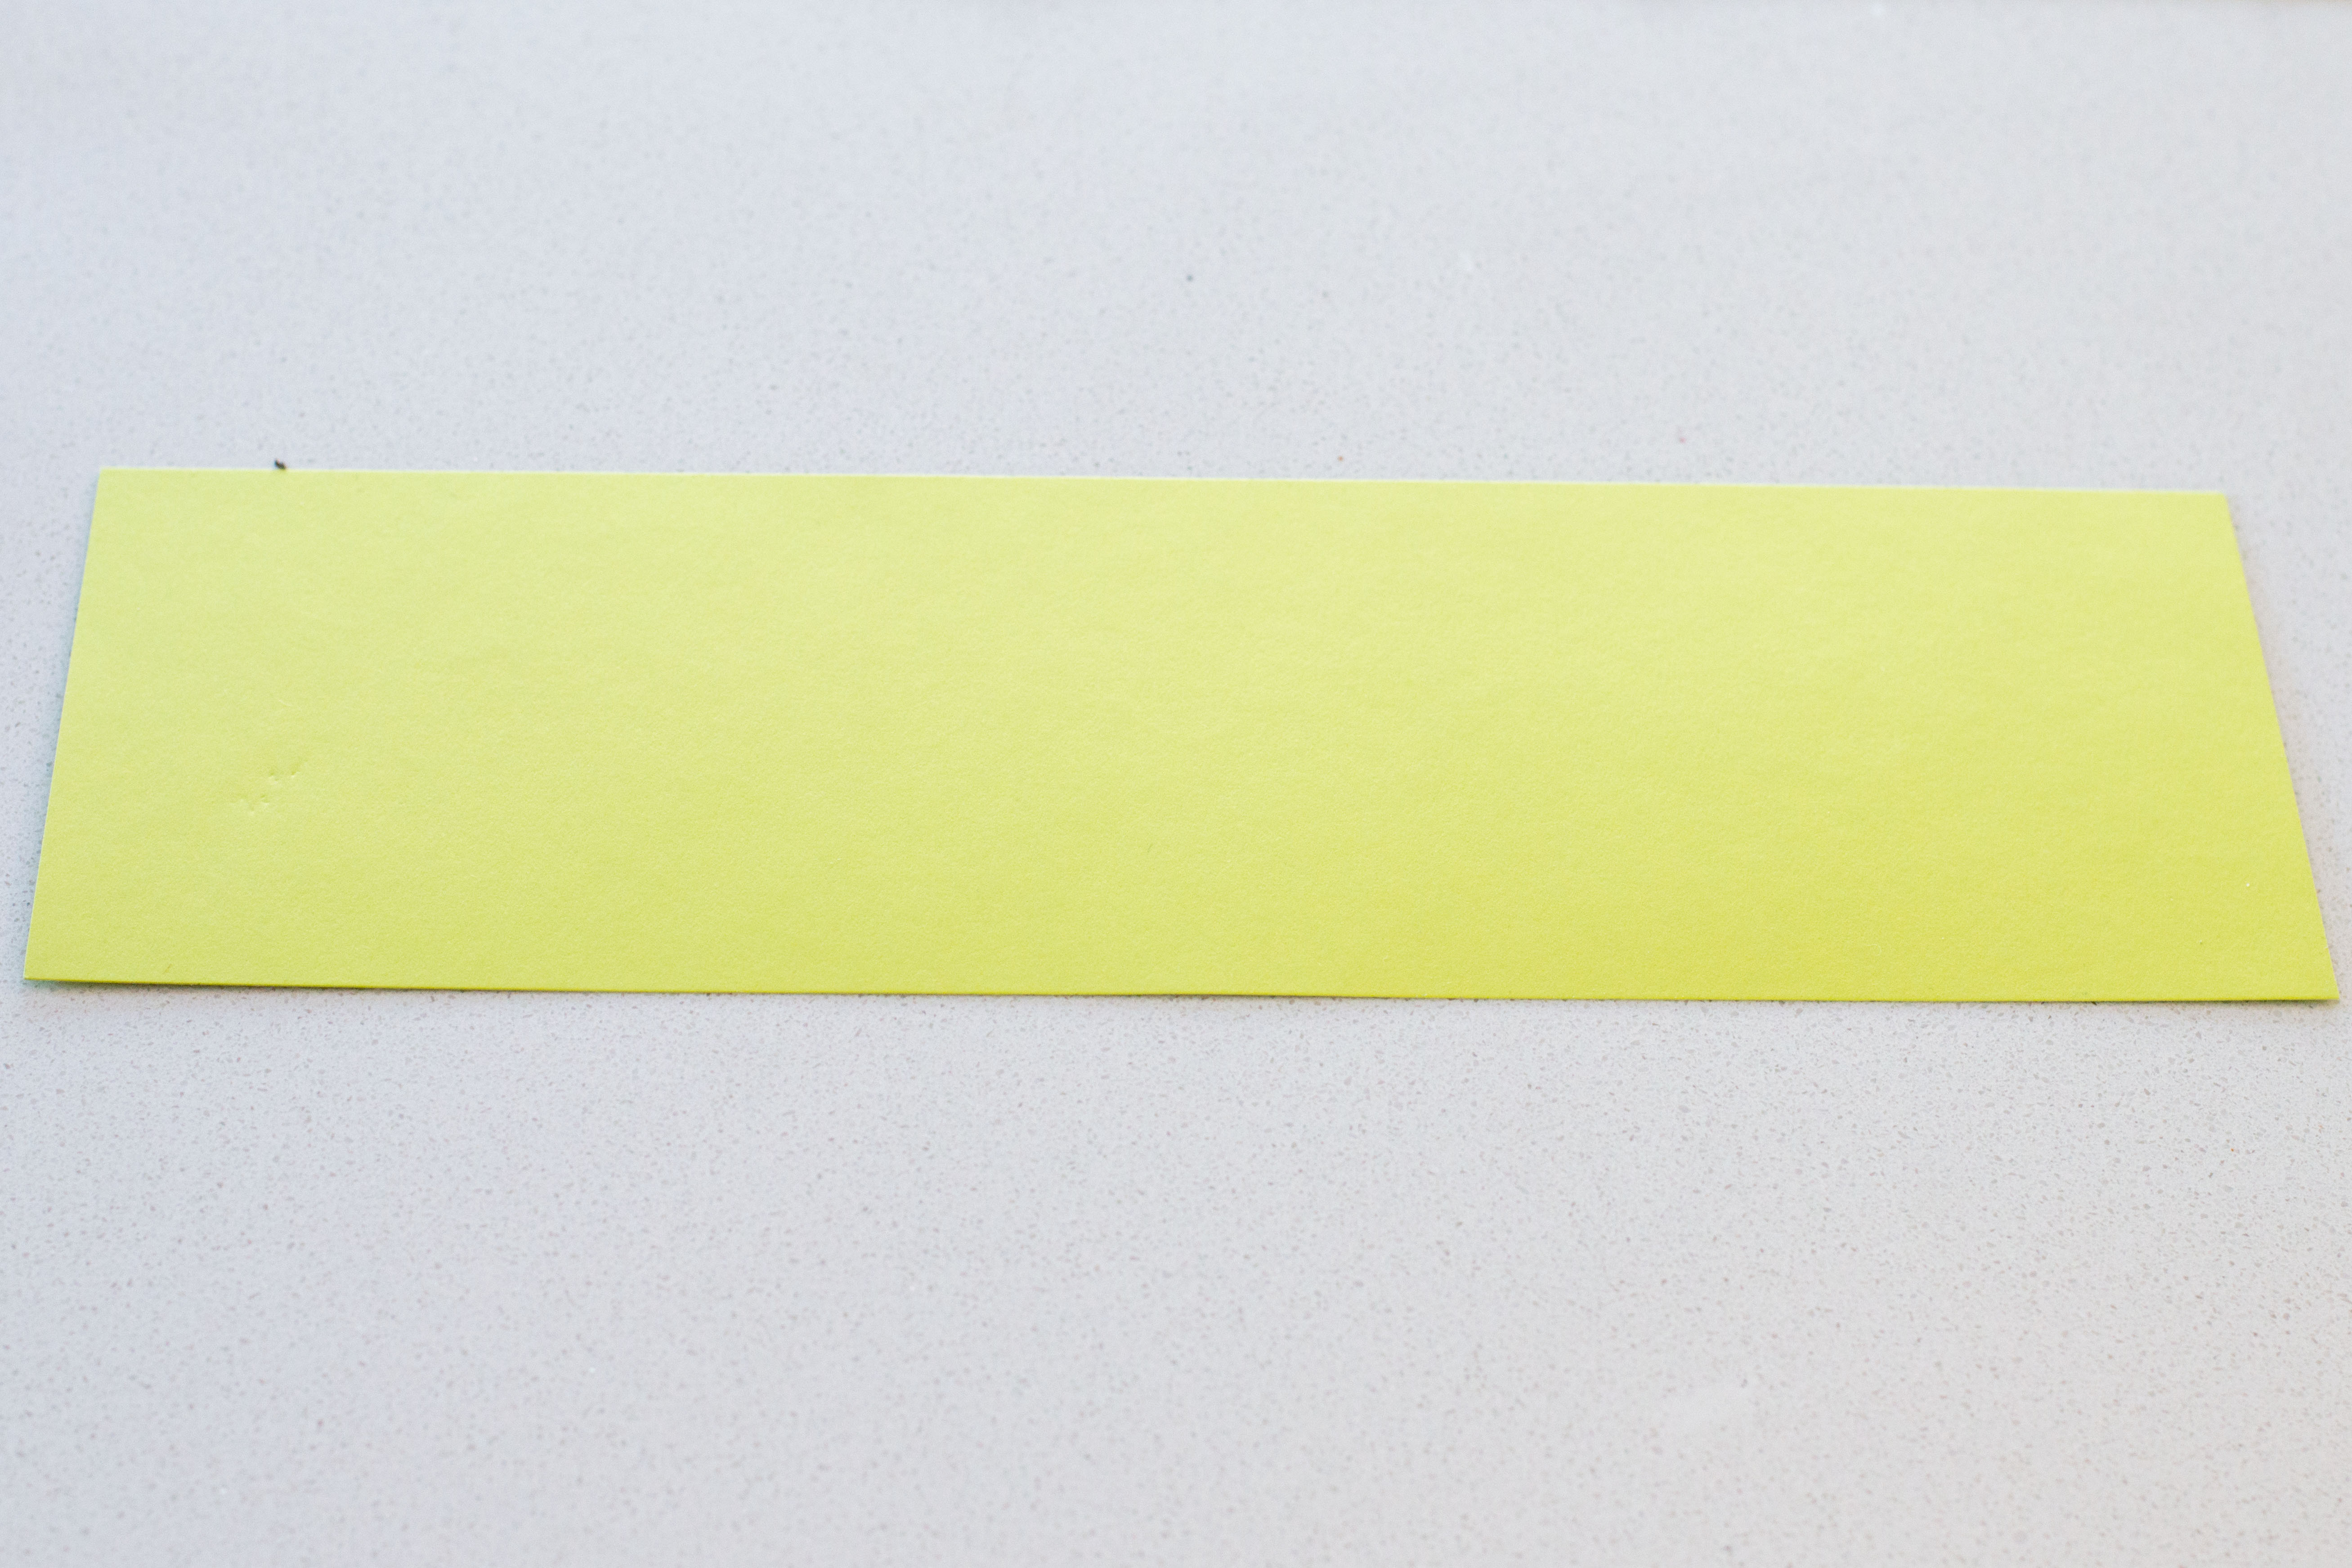
- 4-6 sheets 12”x12” heavy-weight paper or cardstock (you want it to hold up with spray glue, and you may want more if you want to go heavier with a certain color)
- roll of paper for the base (any roll of craft paper will do – I used a random printed one I had already)
- spray glue
- scissors or a paper cutter
- ruler
- tape
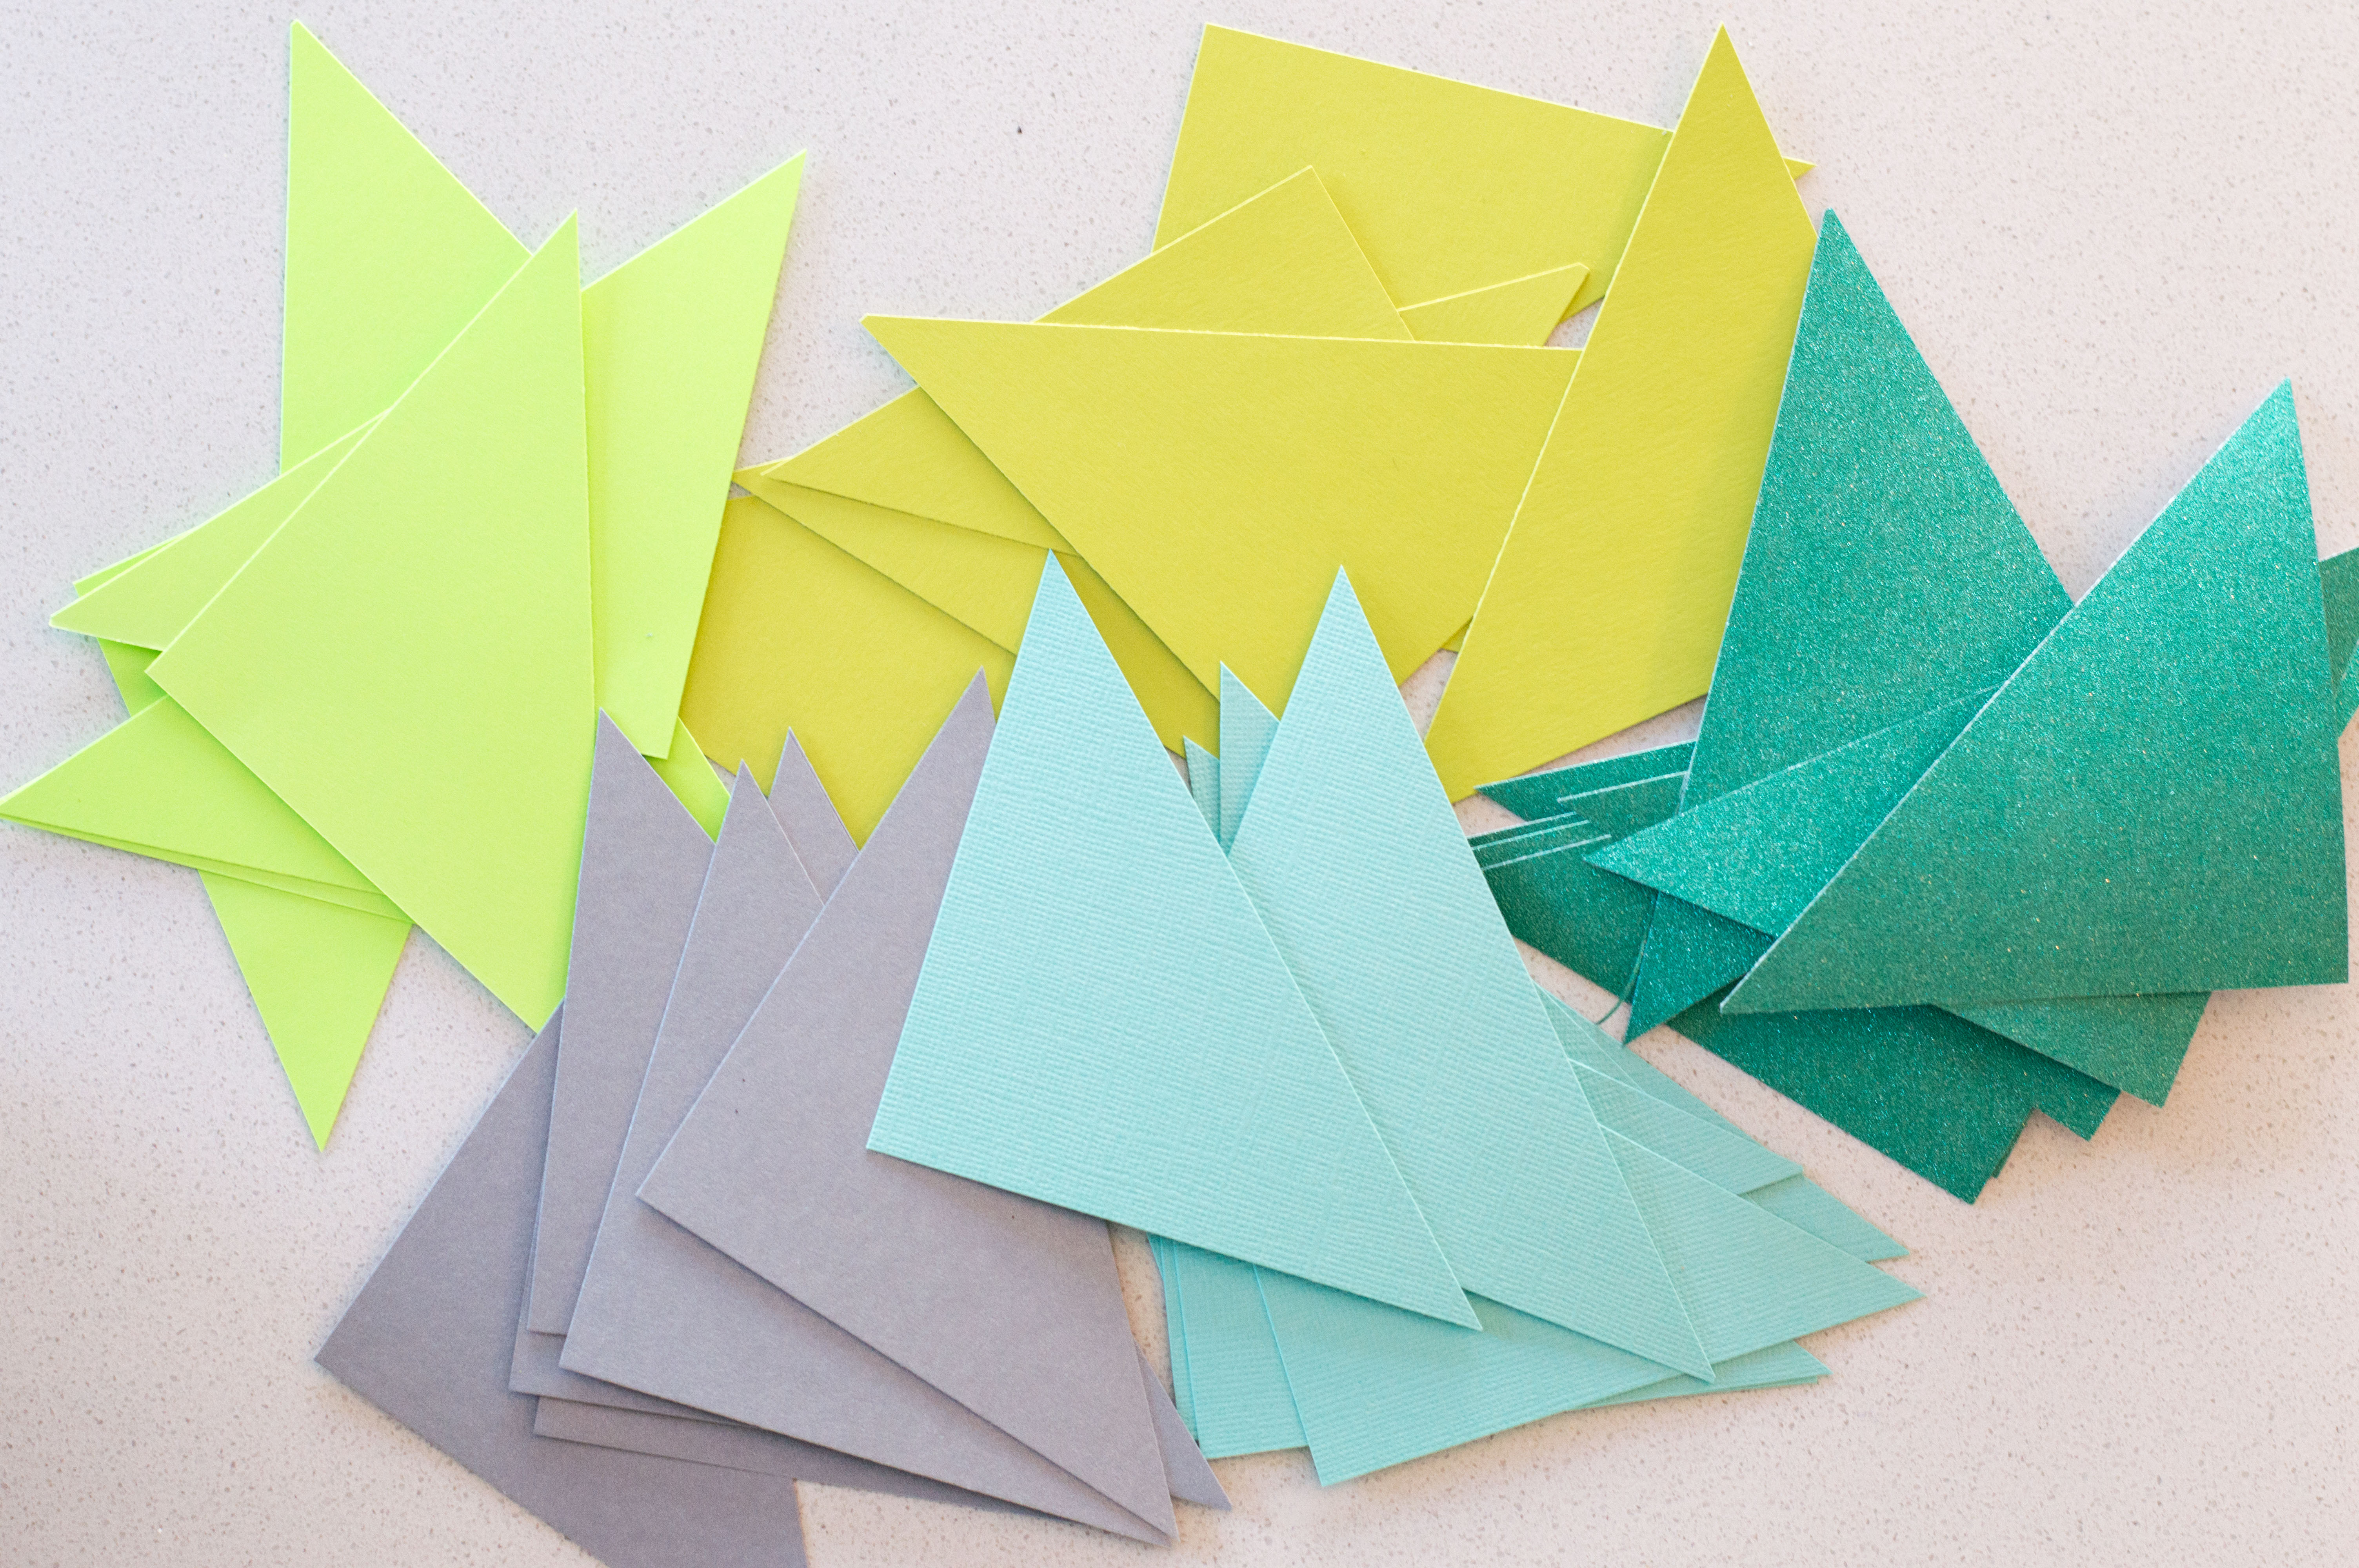
First, decide what sort of color scheme you want. You can keep it really simple with shades of one color, or do a whole rainbow! I decided on mostly a range of greens, with a silver/grey thrown in there. This way I get the huge dose of spring I’ve been craving, and it can hang out for Easter and throughout the spring.
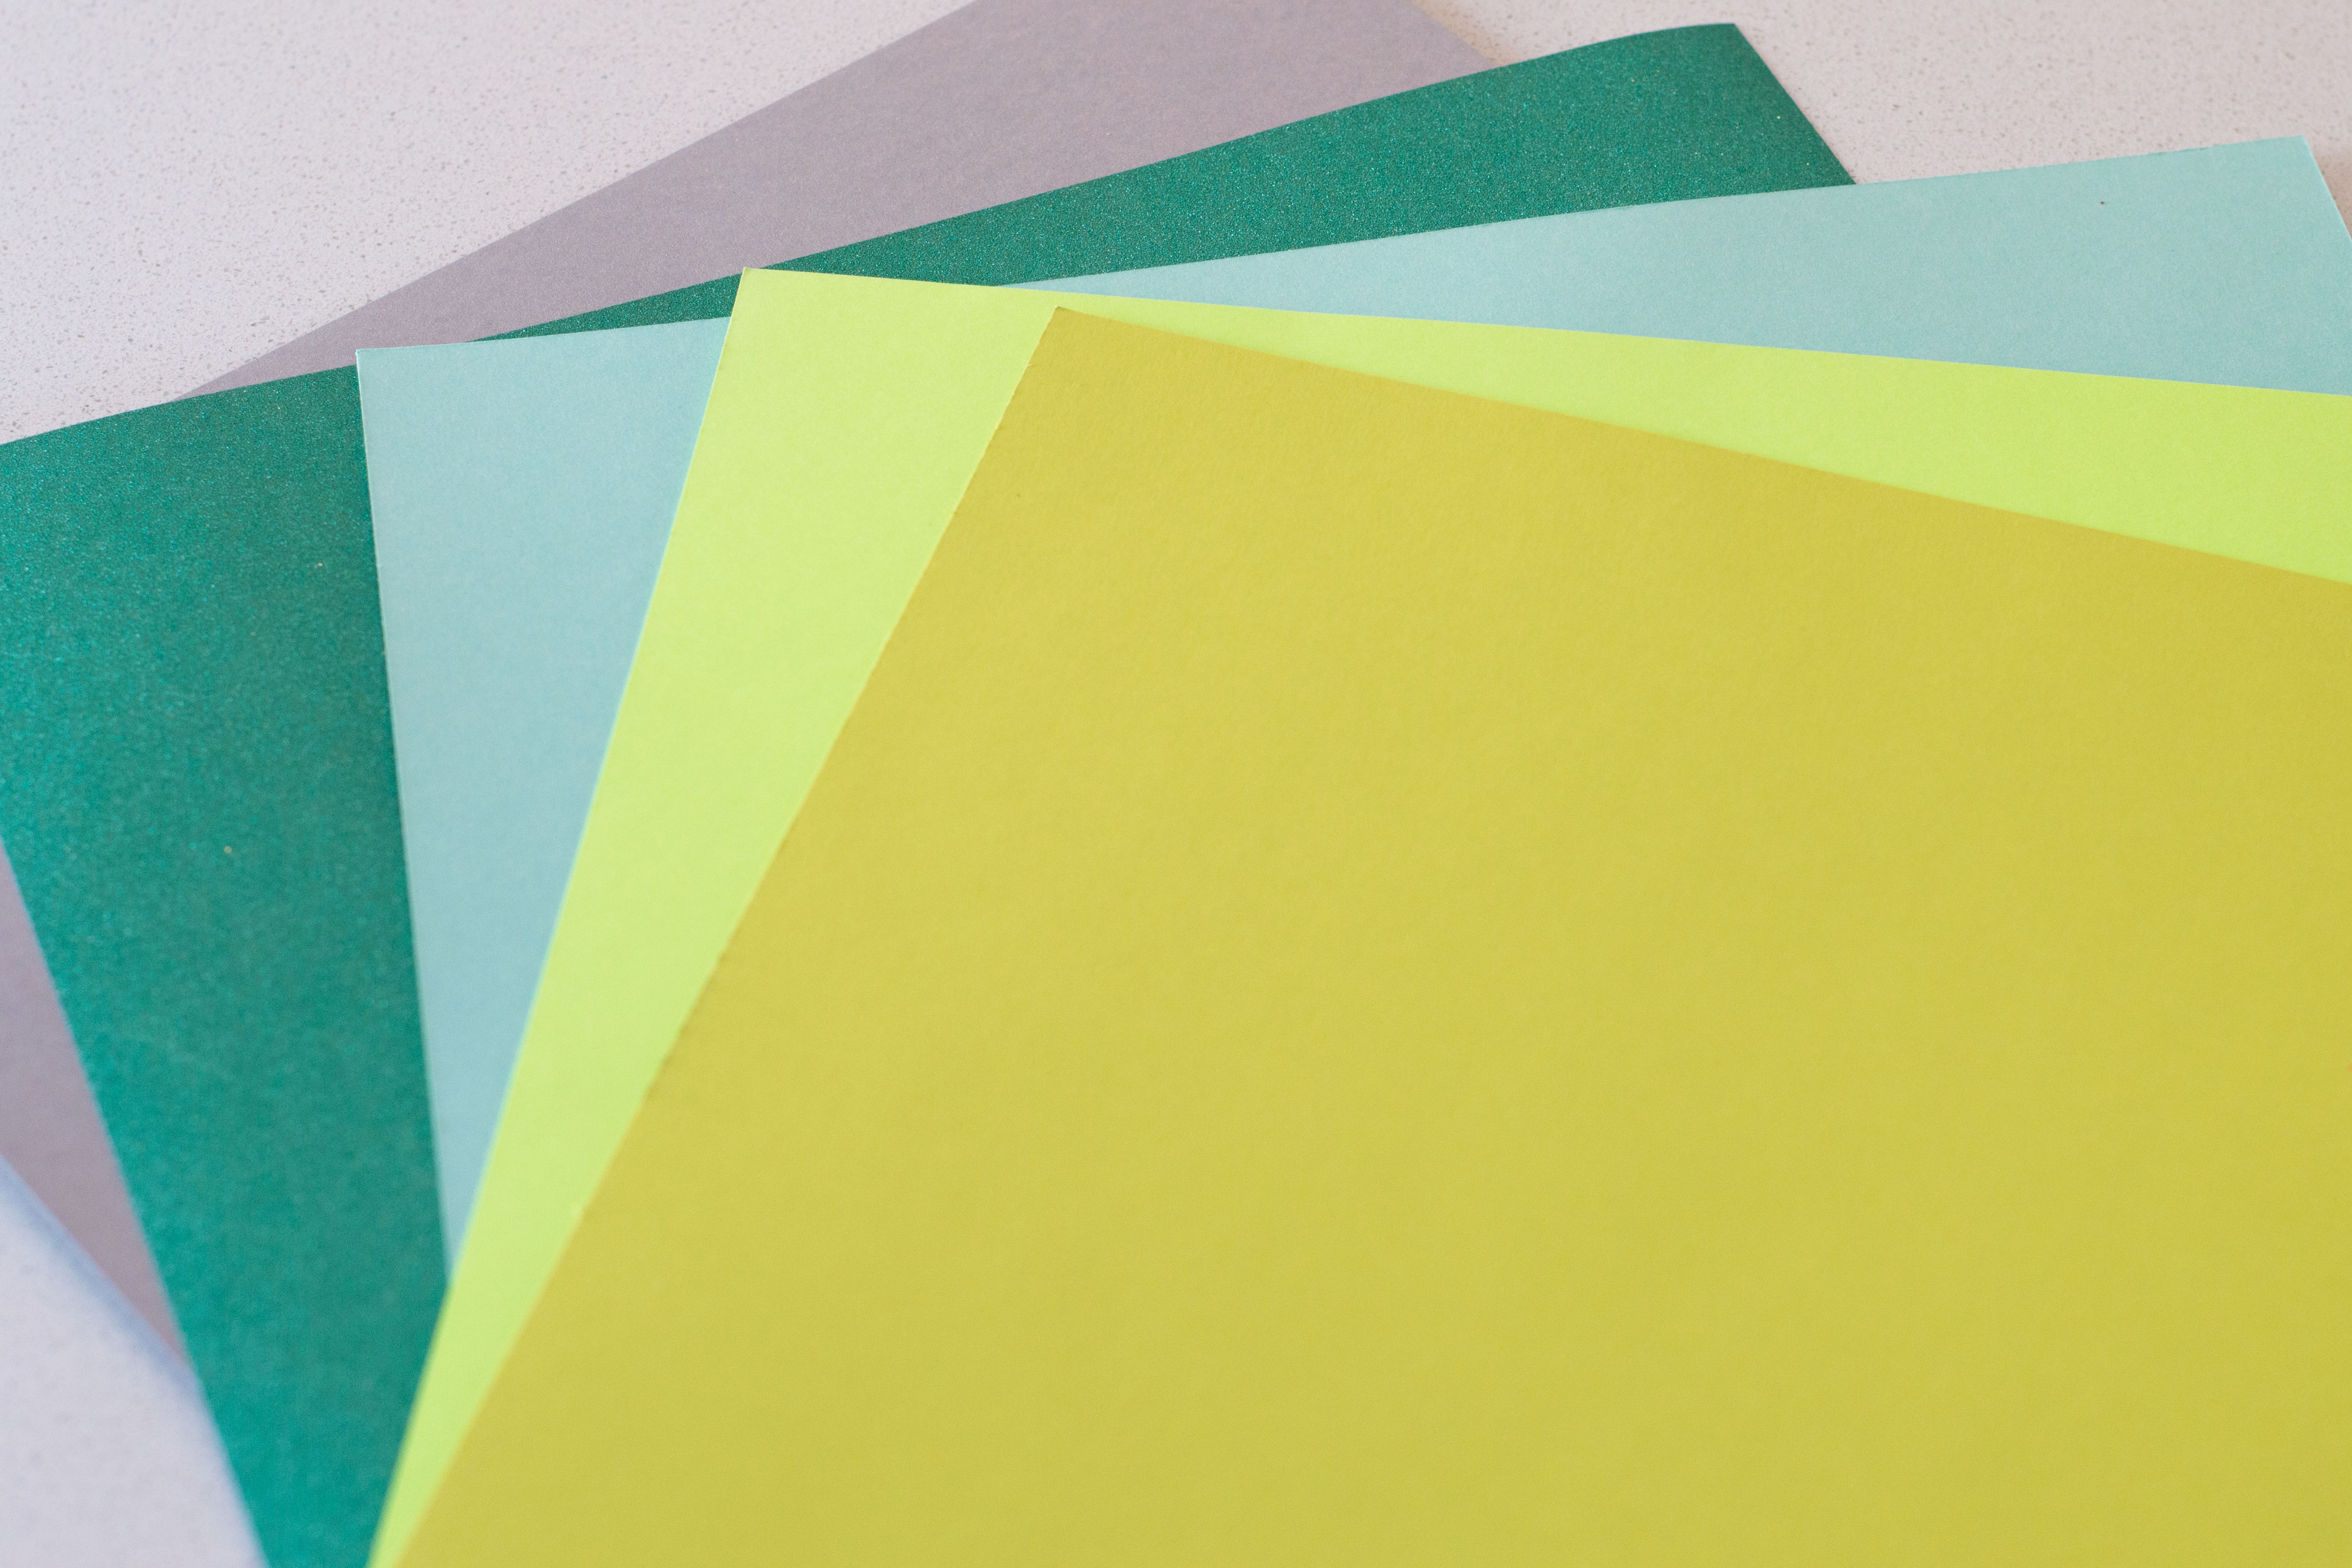 Now for the size of the entire runner. I like to have it sit in the middle of the table – but if you’re a full end-to-end table runner type of gal, more power to you! Mine is 12”x48” – so in total I really only needed 4 sheets of that 12”x12” paper, but I used more because I wanted to use more of the bright greens, and 5 colors total (I used 2 sheets each of the bright and olive greens, one or less of everything else).
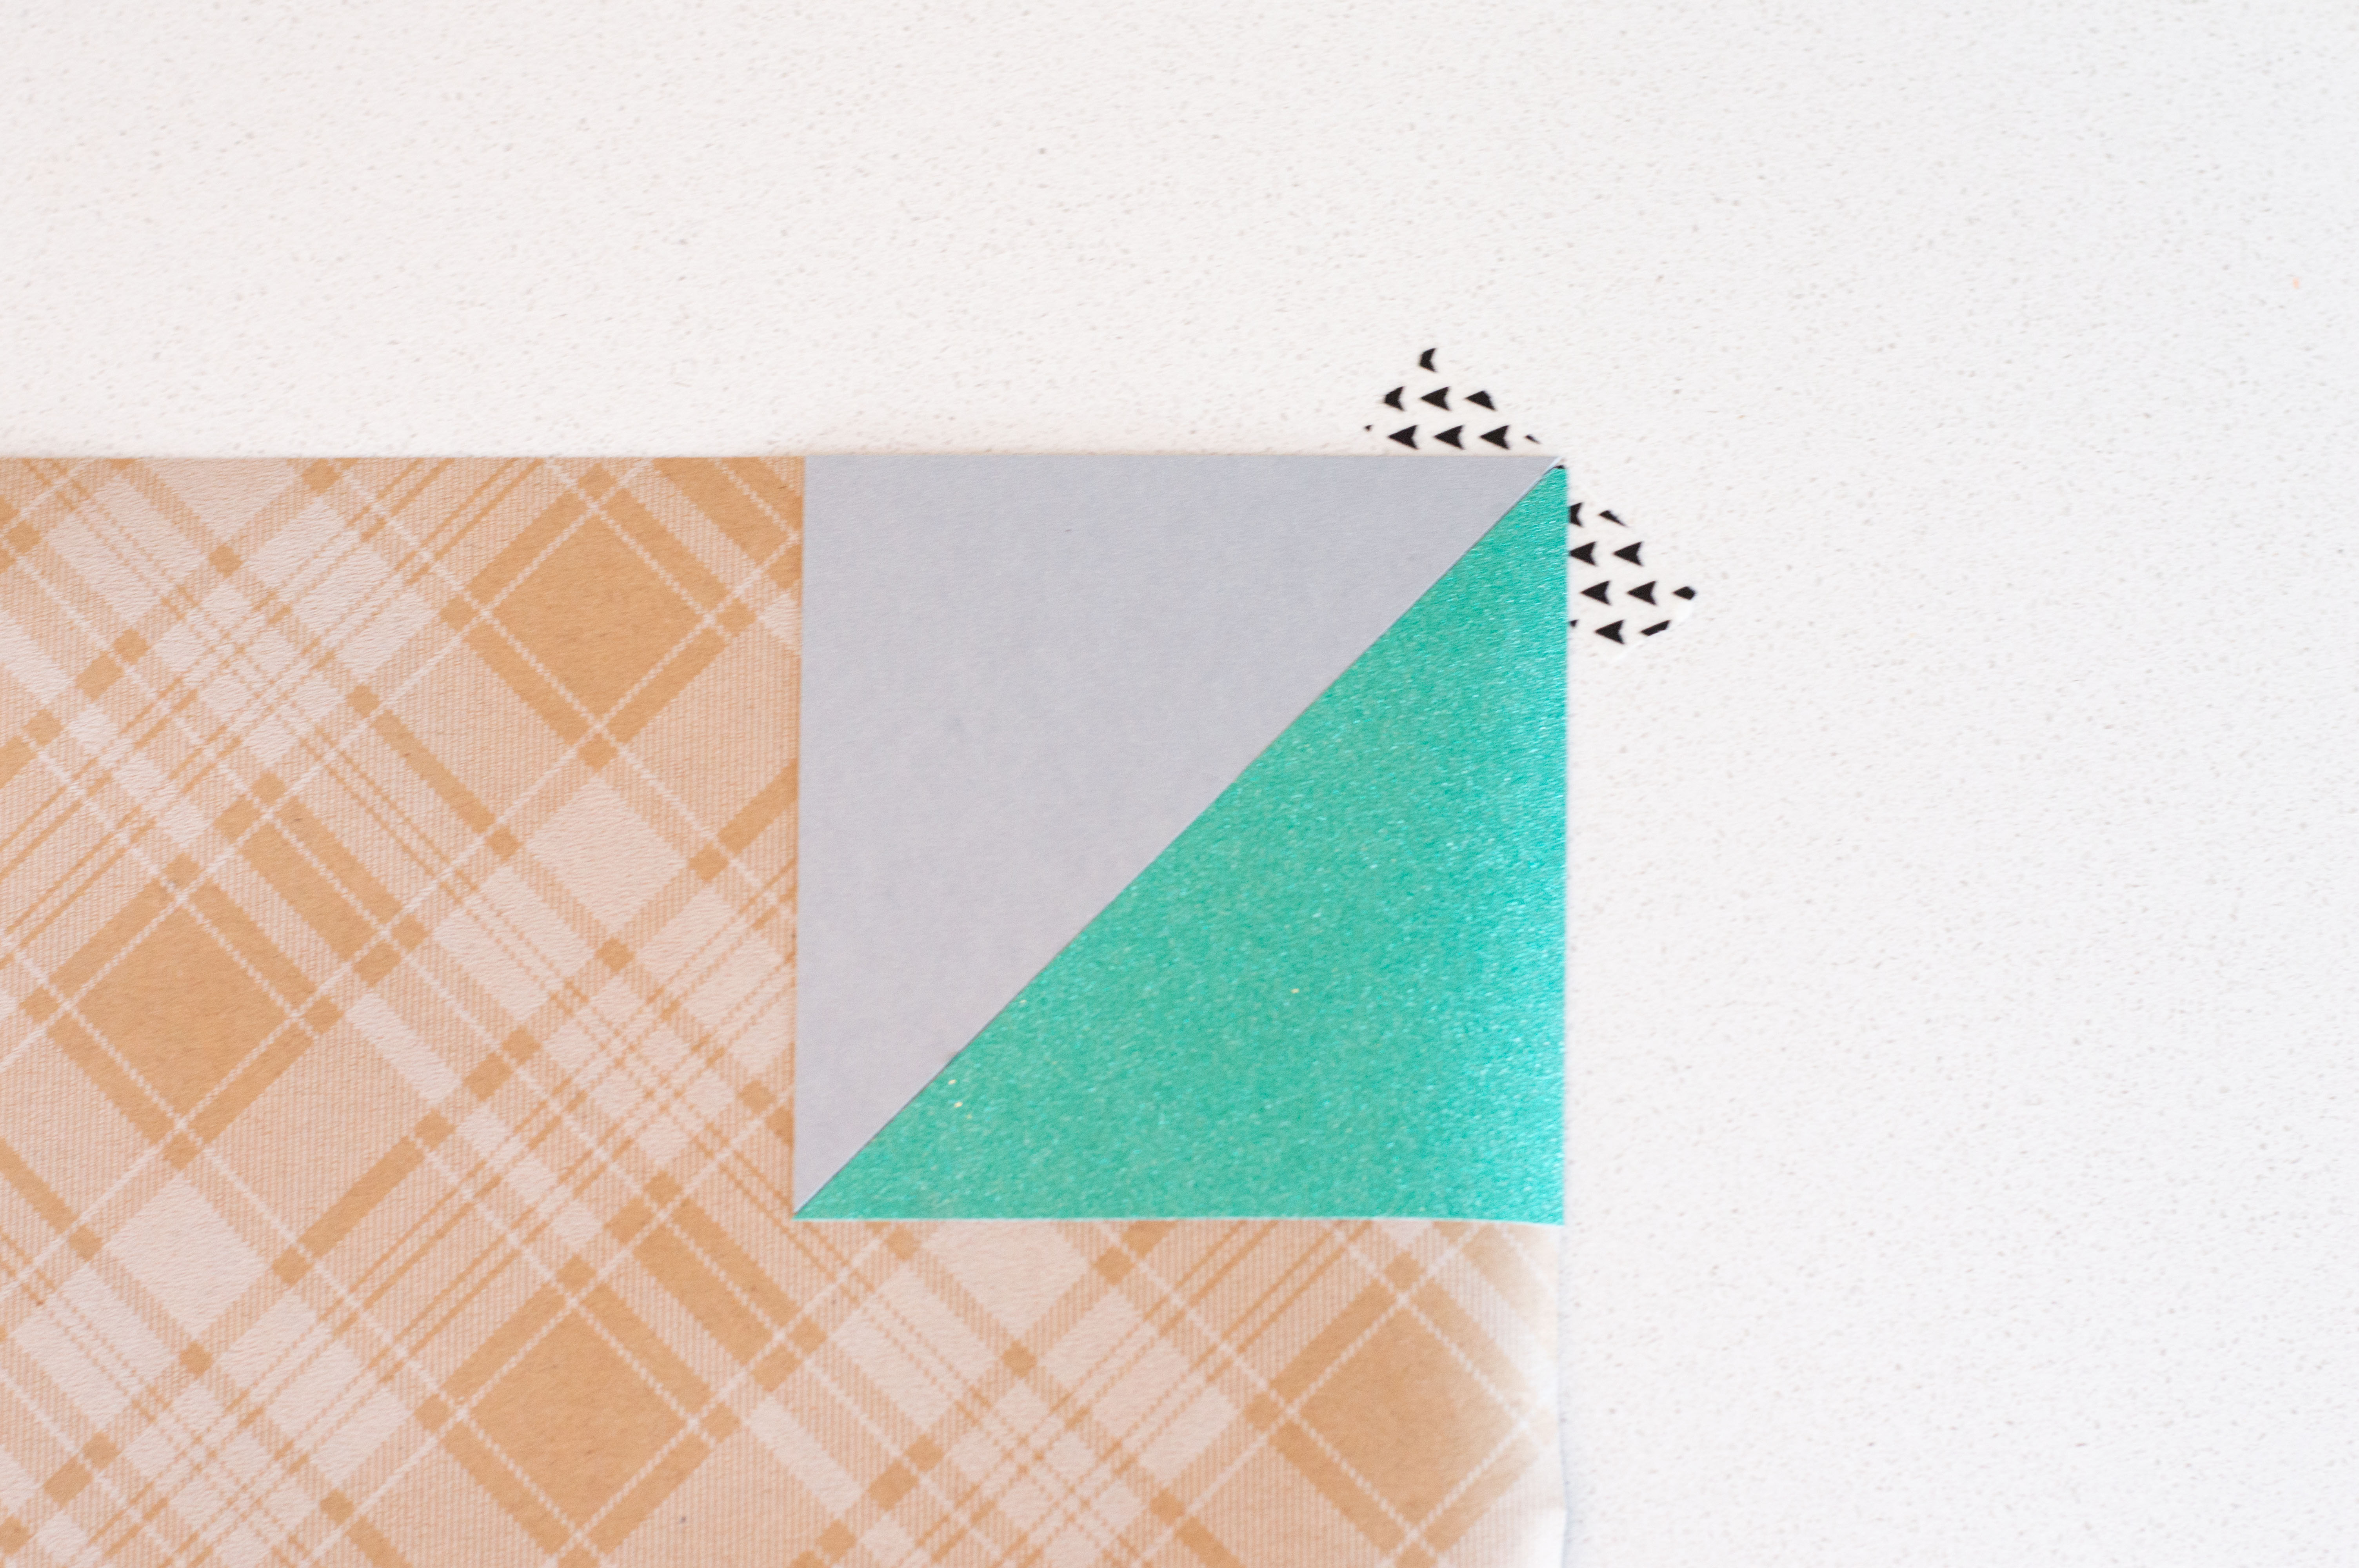
Measure and cut your base paper to your final desired table runner size. Use tape to keep it down on your work surface. Rolled paper tends to want to spring up on you…don’t let it happen! It’s not pretty when you try to add spray glue.
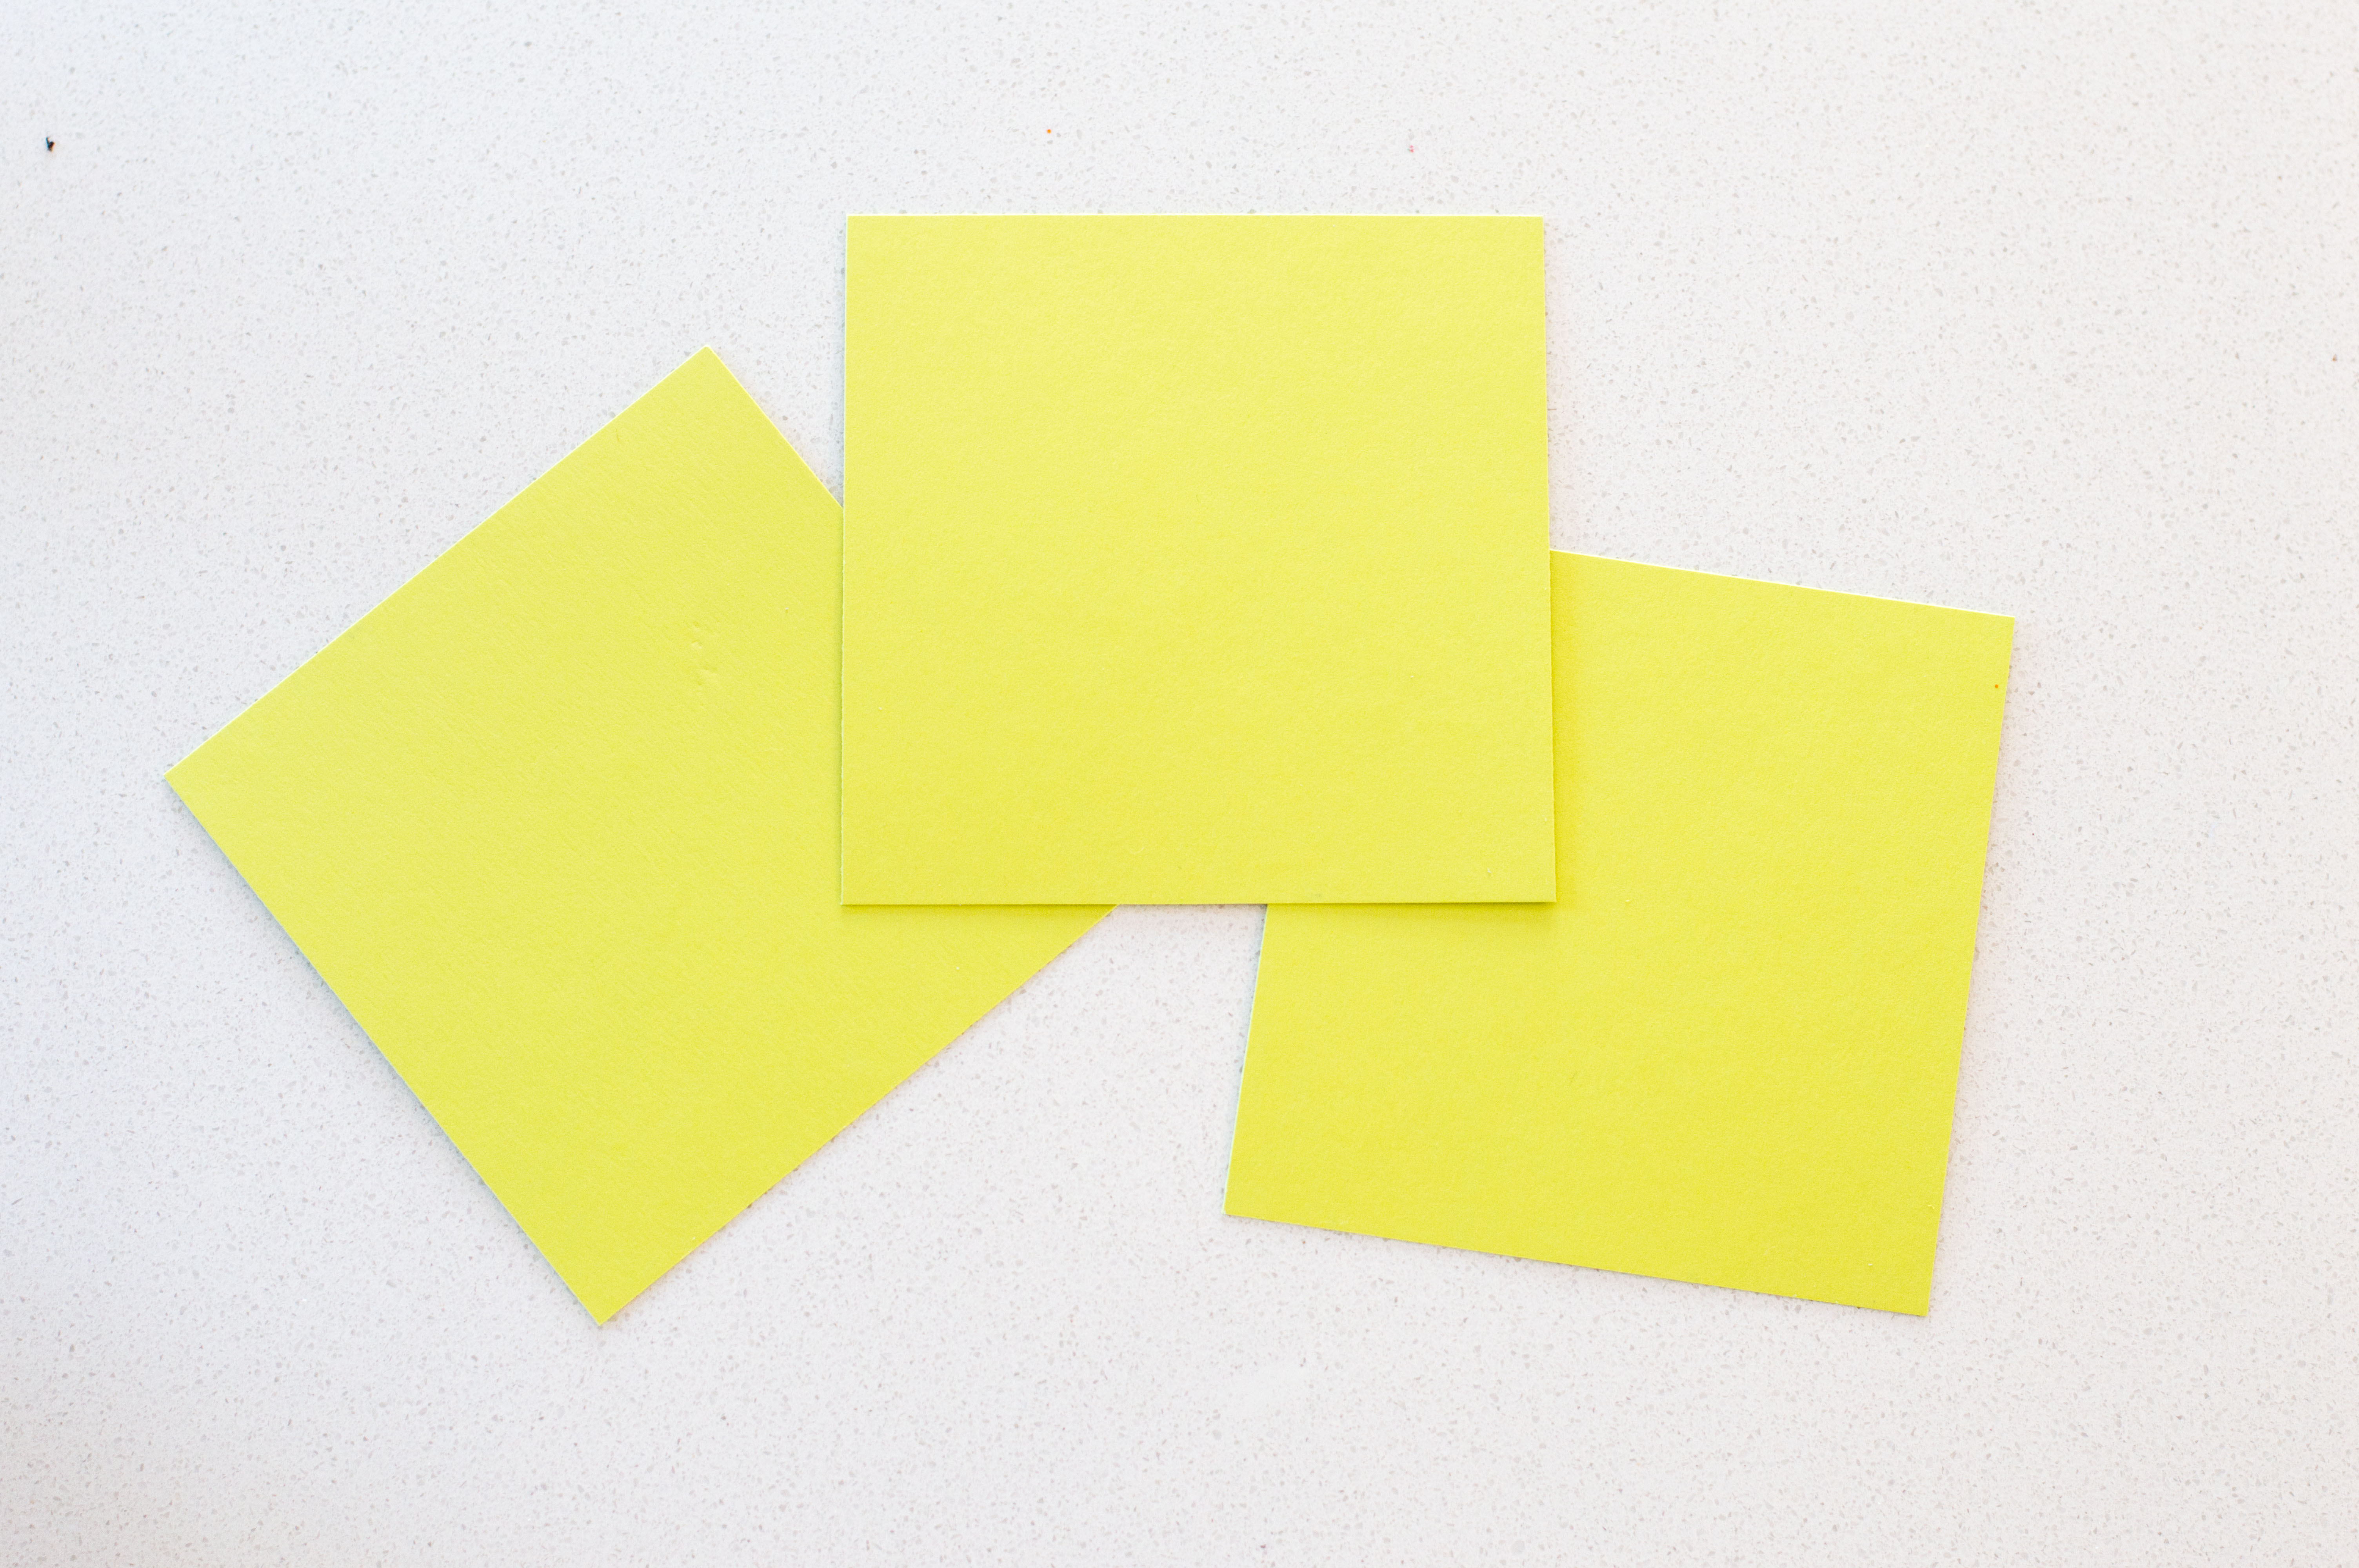
 Now, to get those triangles! Because we have 12”x12” paper, I like doing 4”x4” squares. Measure out and cut your paper into those 4”x4” squares.
Once you have your squares, cut diagonally in half to get your triangles.
 Now you’re ready to design your pattern! Depending on your style, you might want to lay it all out first, before gluing down. Or even use your ruler and pencil to mark out 4” squares as a guide. But, if you’re like me, you just wing it. I mean, what’s the worst that could happen?! Color splashed about is all good in my book.
When you’re gluing, I’d do it on a piece of cardboard or something set near the runner. Spray glue can get, well, a bit messy, so you’ve been warned. But it allows you to reposition if needed quickly after placing, so I like to use it with projects like these.
You’ll want to use the straight edges of your base paper to keep your lines straight. Start at the corner, and go from there. You’ll inevitably have pieces that don’t line up just right, or leave a gap. I would try another piece of that color I wanted, or just play with it a bit. Overlap a corner or edge to make it work – leave a tiny gap since you won’t really see it anyway. As long as it’s mostly straight and lined up, I think you win! Don’t beat yourself up. Once you move a step or two back, it will look magnificent!
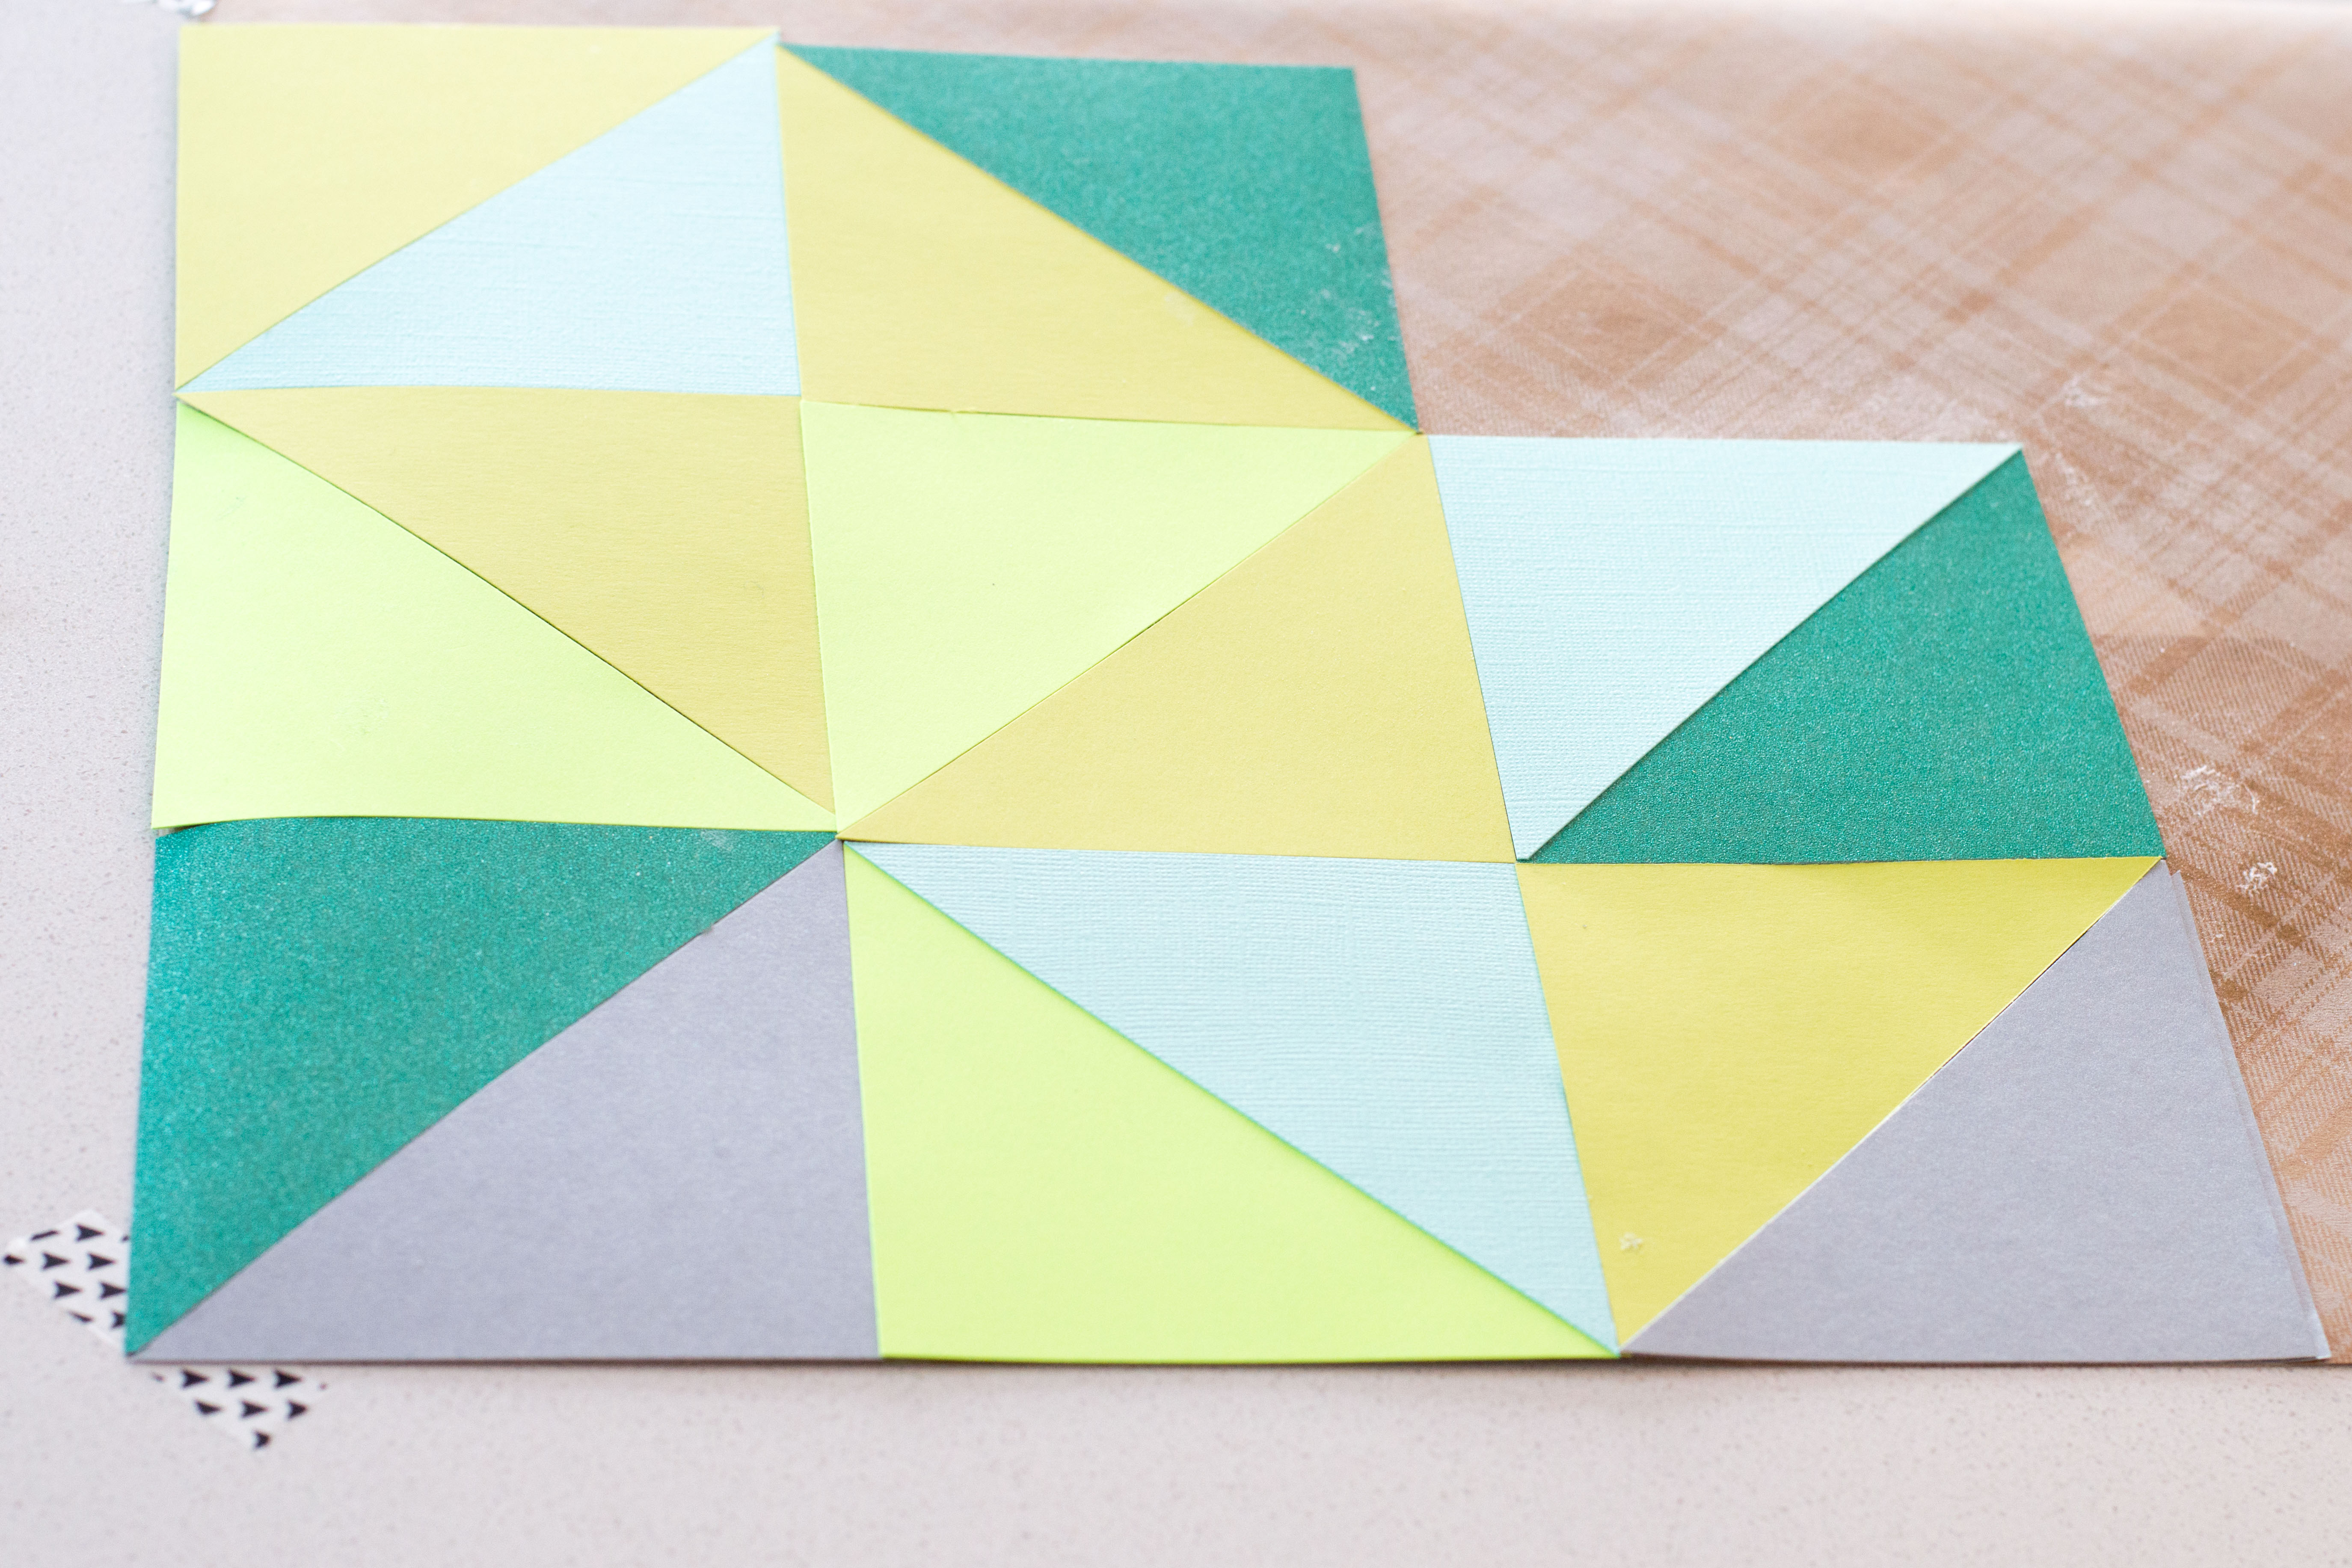 Keep going, one sticky piece at a time, until you’ve filled your entire base paper full of colorful triangles. Grab a triangle, spray, place, repeat! As you’re placing your triangles down, beware of sticky/dirty fingers – they WILL leave a mark on your lighter paper. Once you are finished, you probably glued over the tape that was holding your paper down, just cut those pieces off – nobody will ever know.
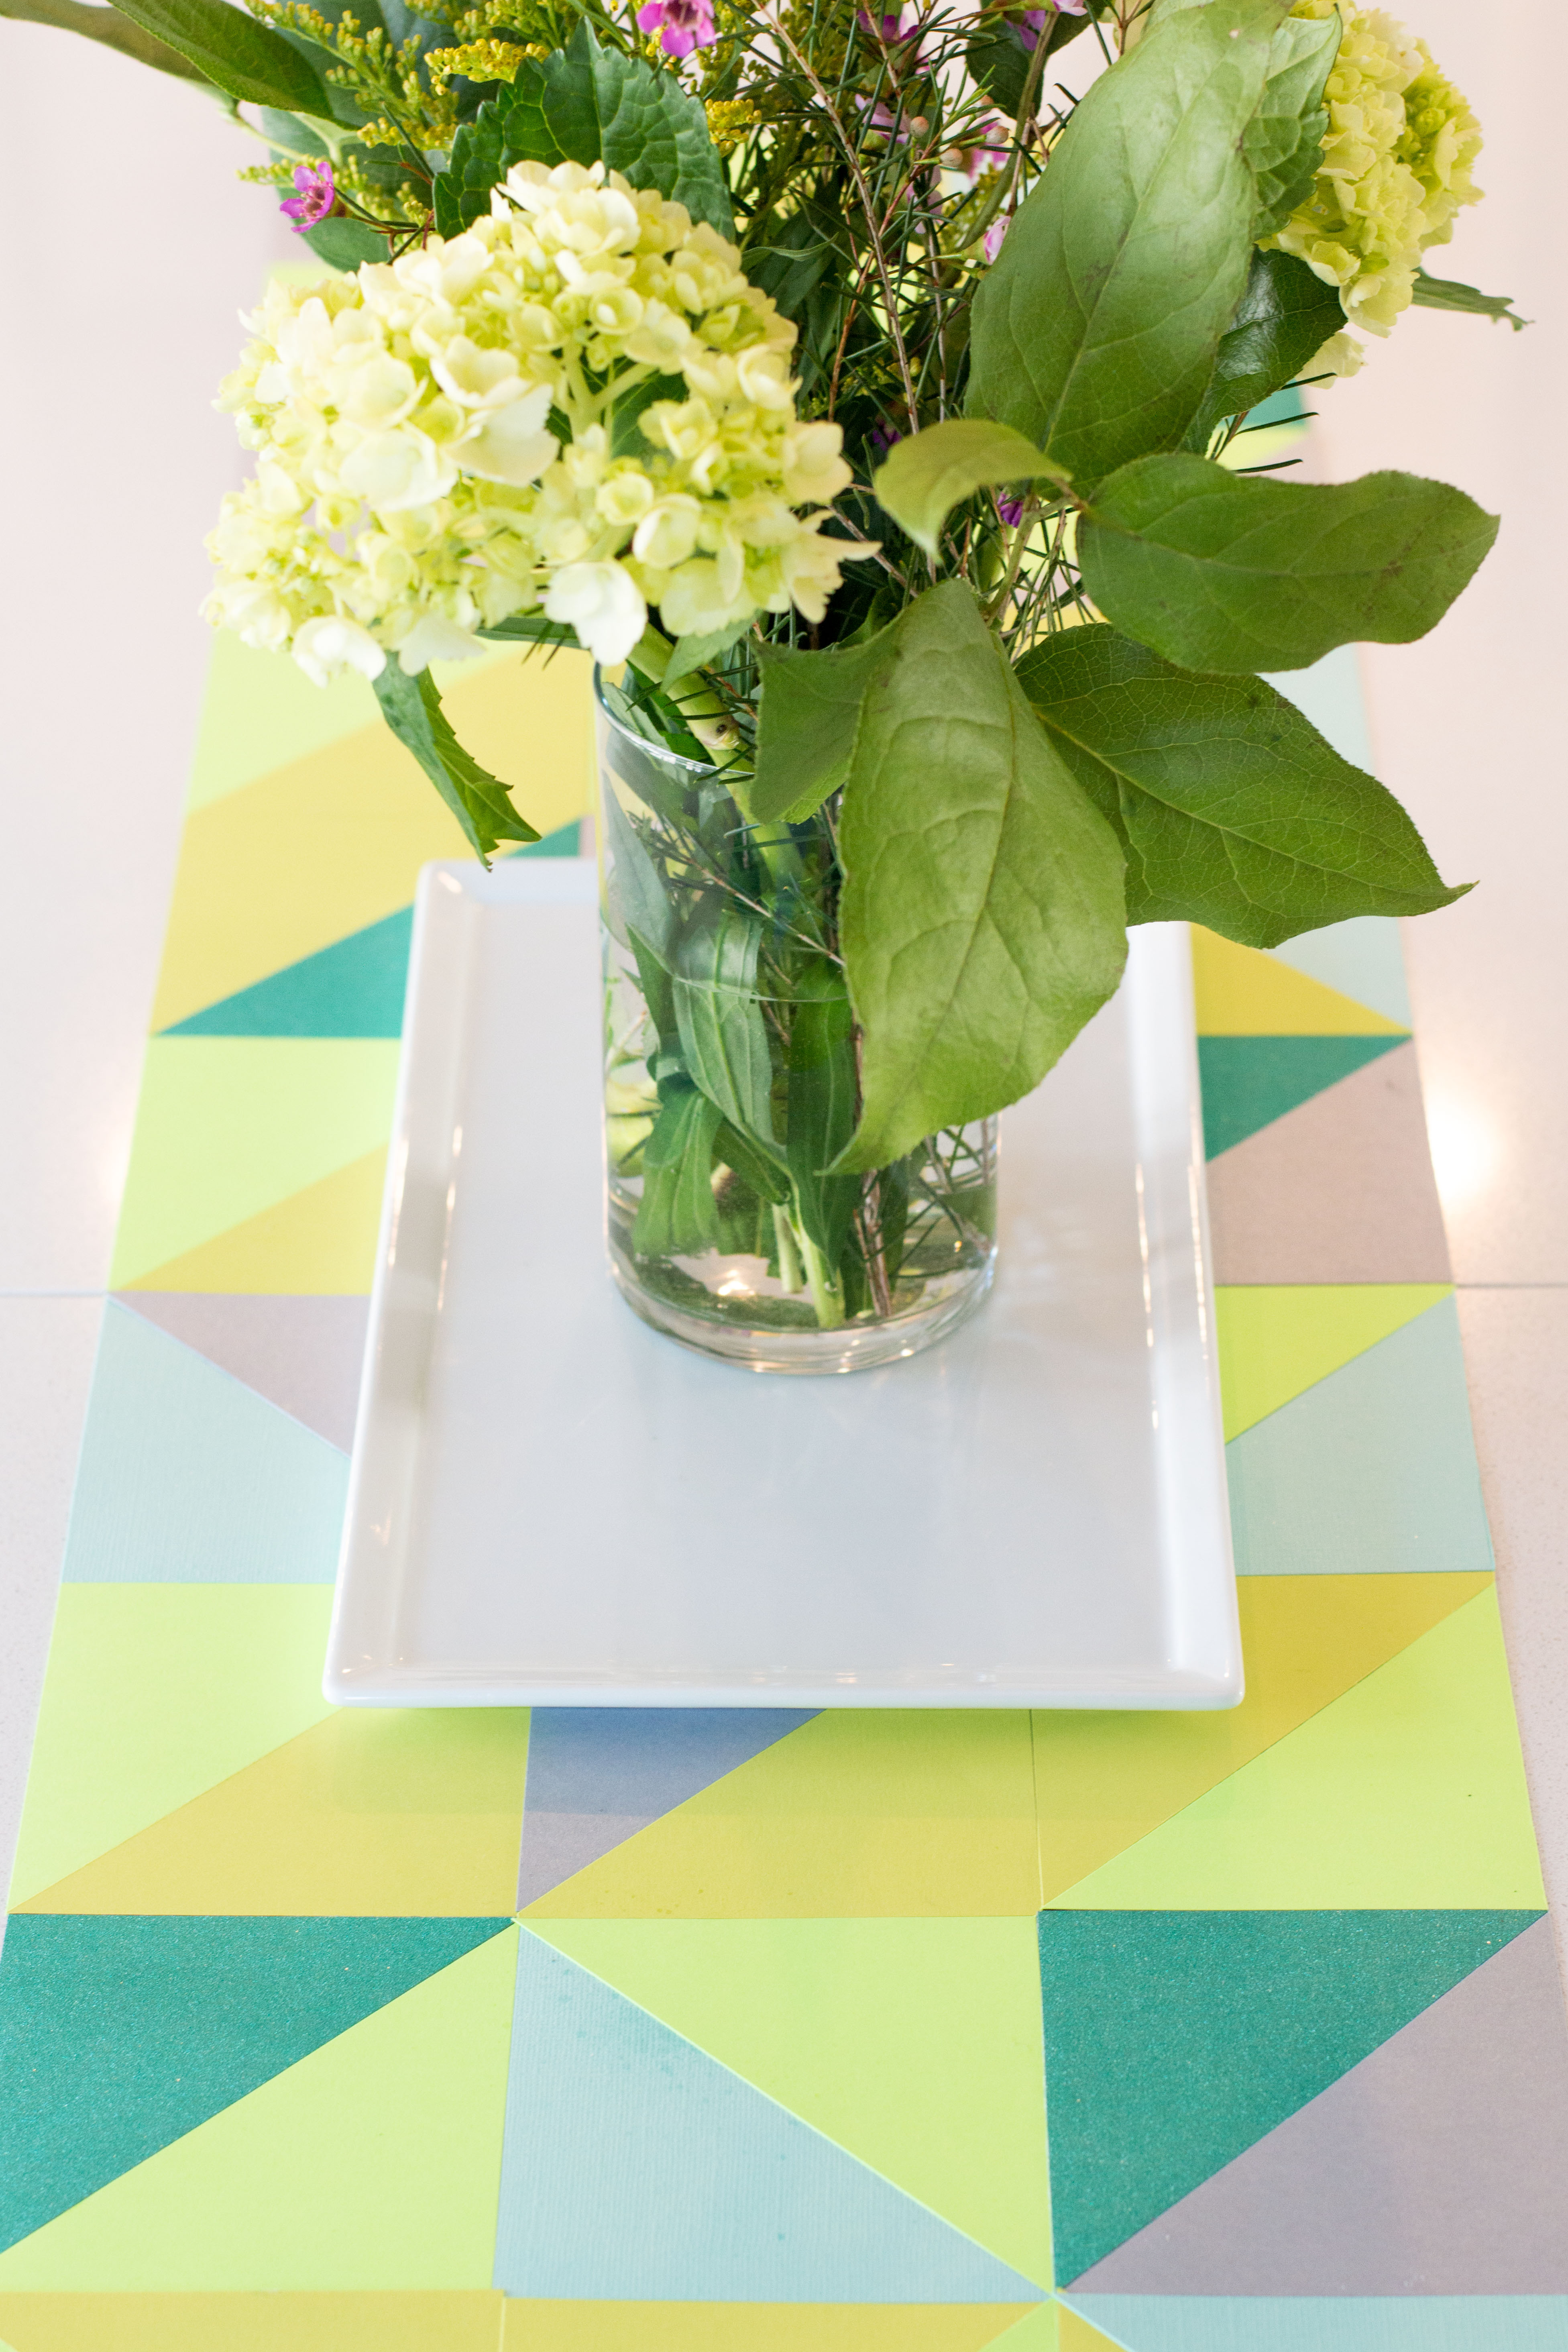
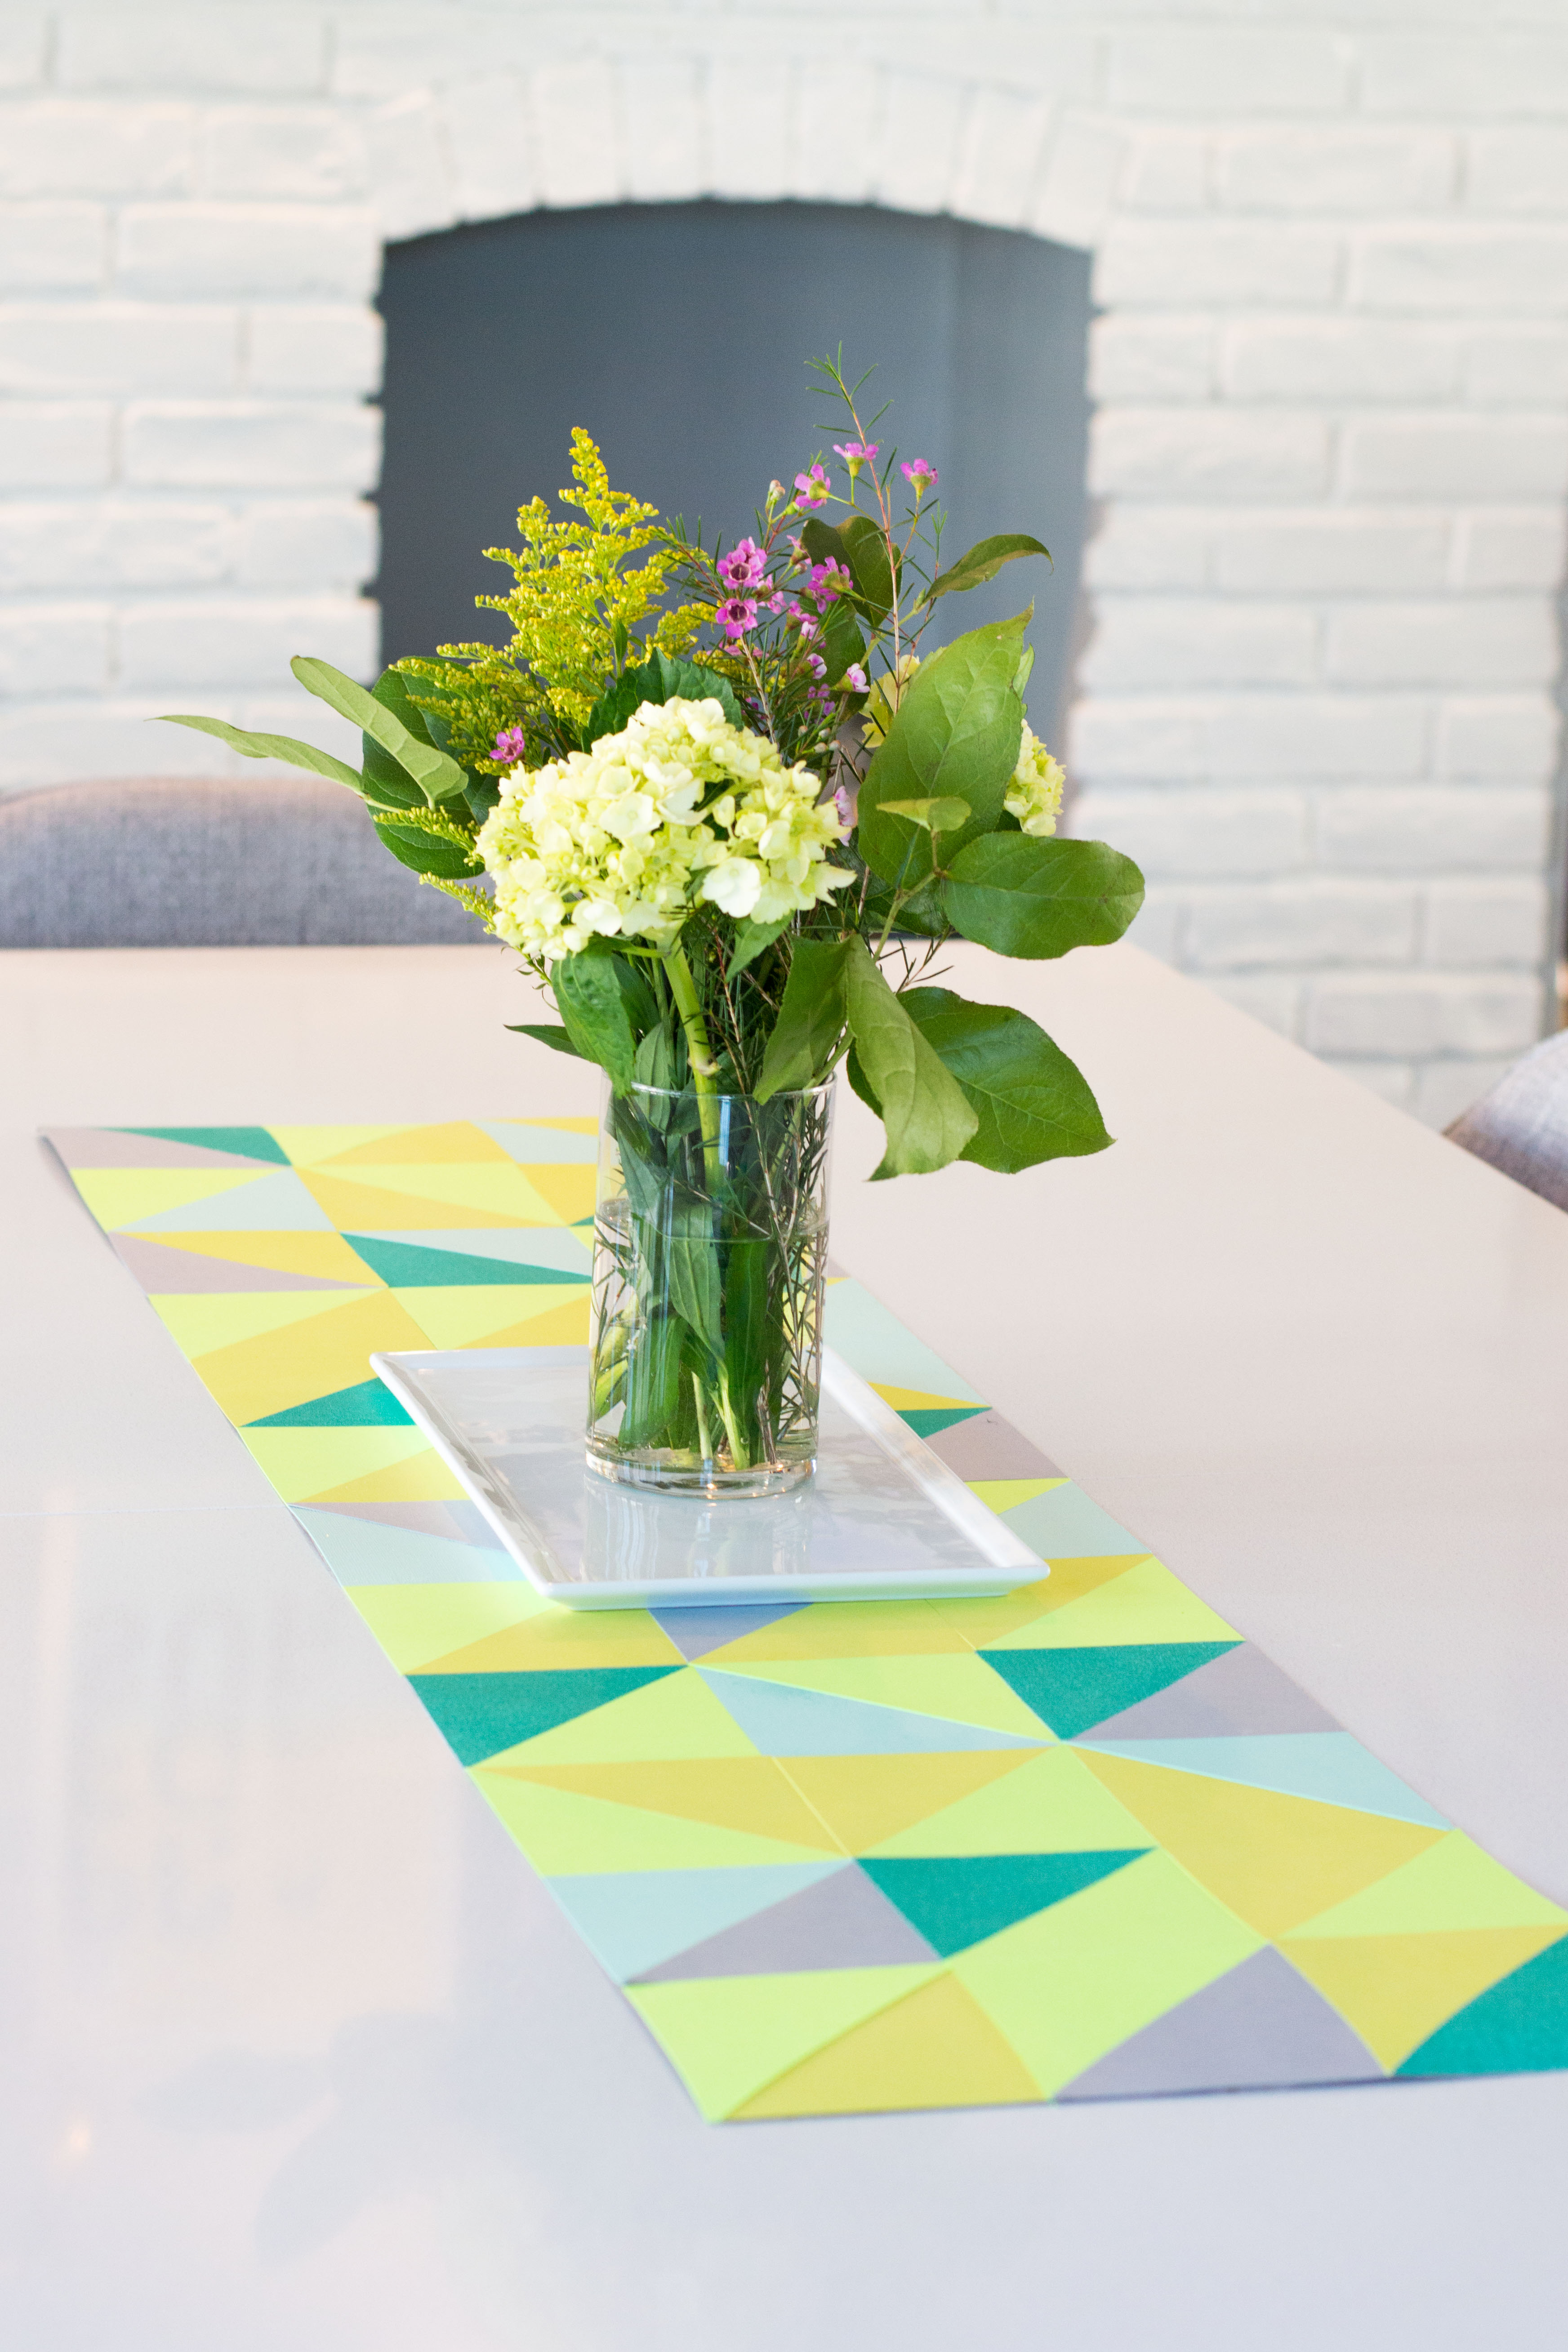 Top with some flowers, pretty bowls or other beauties, and you’re good to go. This whole DIY Spring Paper Table Runner project cost me under $10! If you’d like a little more springtime inspiration, check out how I created this Flower Display and this fun Iced Coffee Bar!
PS – remember it’s paper – not really that fond of getting wet or greasy.
I LOVE this project so much! Triangle designs are some of my favorite designs right now, and I love the color combo. Found this project via the Create Link Inspire link! Thanks so much for the great inspiration!
I’m in love with this color palette!! Perfect for Spring! I also like the idea of making a table runner out of card stock (not much of a seamstress). Thank you for sharing!