
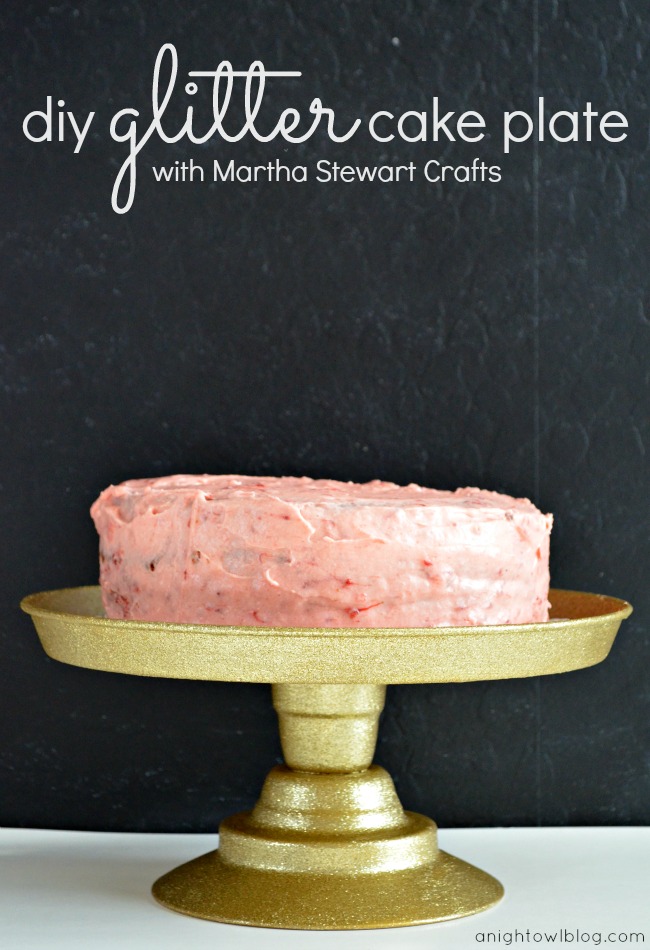
DIY Glitter Cake Plate and Flower Toppers

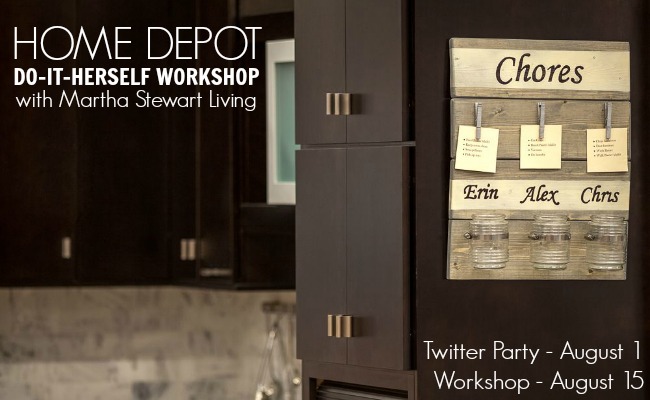
Hi friends! It’s time for another fun 12 Months of Martha project! If you’re new around here, this year I’m involved in a 12 Months of Martha program with Martha Stewart Living. You can get more information and follow along on our 12 Months of Martha Page! Now on to this month’s project.
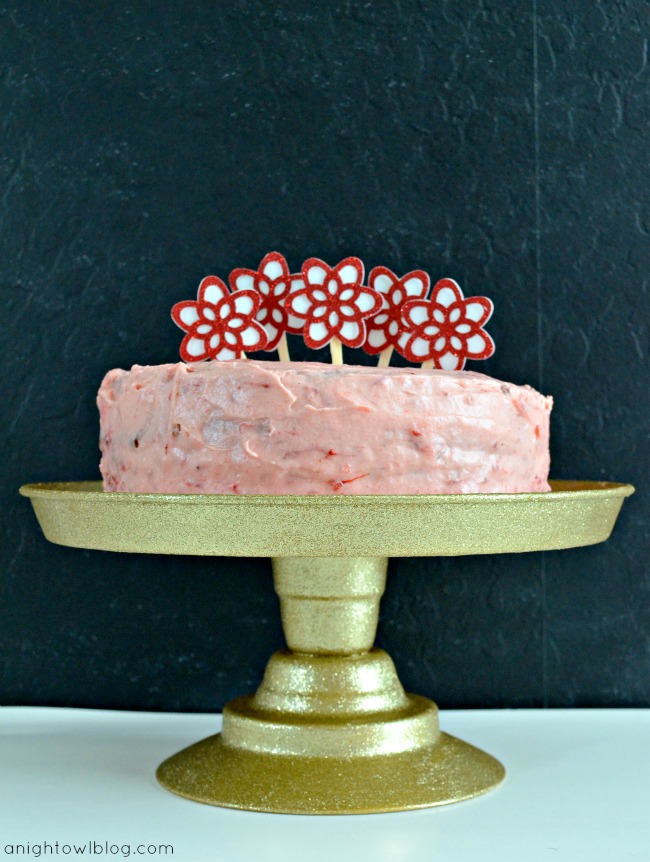
When I received our #12MonthofMartha supplies this month, of course the first thing that jumped out to me was the fabulous collection of glitter! Martha’s glitter is an amazing medium to work with. And who couldn’t use a little more glitter in their lives? So I knew I had to use it in this month’s project. Then one day I came across this gold-ish cake plate I had bought a while ago. I loved it because it was gold, but I hadn’t used it yet because it was just missing something. Then a lightbulb went off. THIS would look amazing with gold glitter! And there, this month’s project was born – a DIY Glitter Cake Plate! I’m also going to show you how to make some fun flower cupcake or in this case cake toppers too!
What you’ll need:
- Cake plate
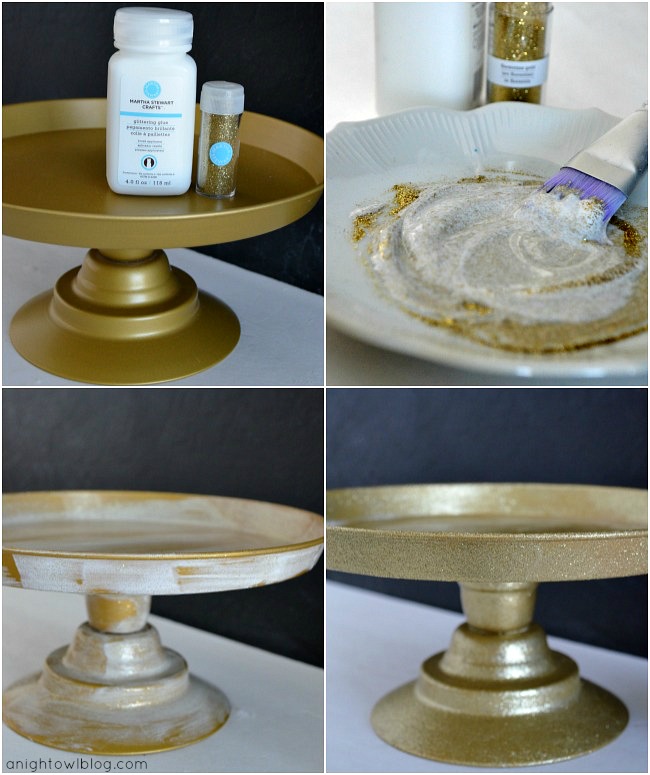
- Martha Stewart Crafts Glitter Glue
- Martha Stewart Crafts Glitter
- Martha Stewart Crafts Paint Brush
And the steps:
- Make sure the surface of the cake plate is clean.
- Mix glitter glue and glitter together in a dish. You may have to water down the glue a bit to get the right consistency. You want to be able to “paint” it on.
- Using the paint brush, paint the glitter glue mixture on to the cake plate.
- Let it dry.
- Repeat steps 3-4 until you are happy with the coverage of the glitter on the plate (I did 4 coats).
- You can seal the resulting cake plate with a sealer or glaze; however, I left it as is! That glitter is on there good!
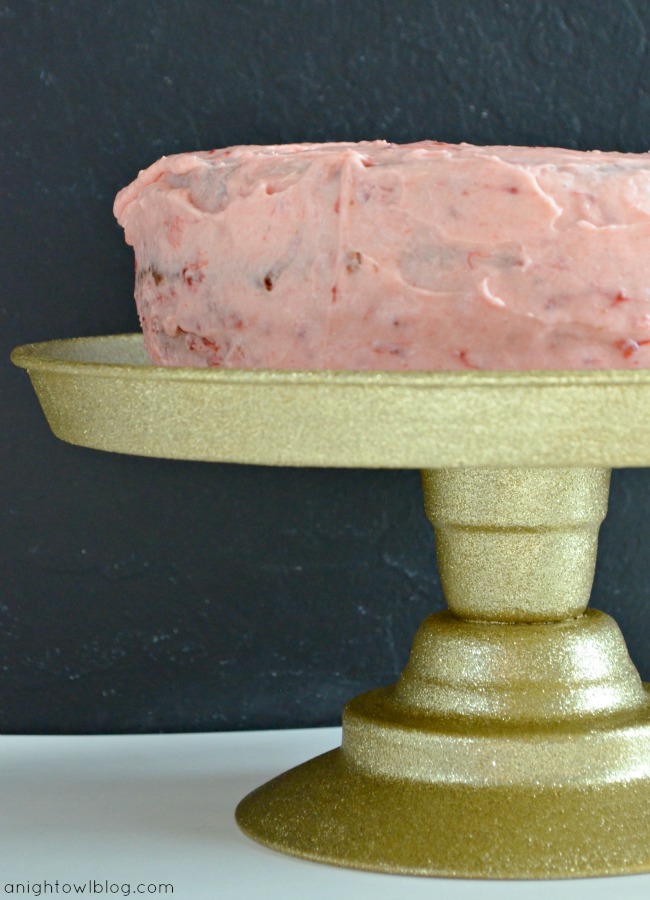
And I love how it turned out! Just what I was looking for. The glitter took this plain Jane and turned her into a gem! Muah!
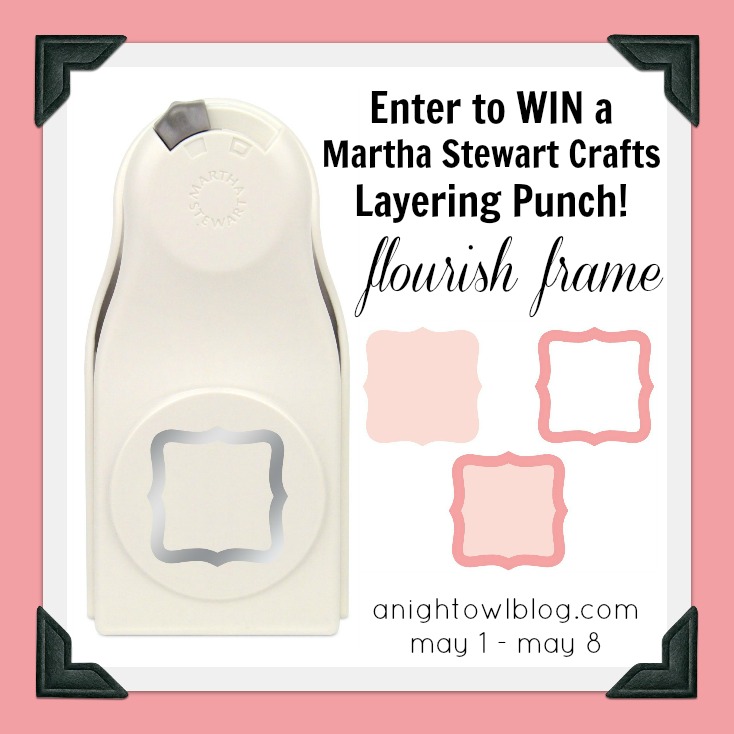
But we received some other fun goodies in our box this month – including some fab paper punches. Another fave Martha product of mine! You can see where I used her famous circle punch here in our Easter Vignette. This month we received layering punches! These punches are awesome because you can punch in one mode to make a background solid shape, then another mode to make a die-cut shape that layers on top for a perfect combination! Let me show you.
What you’ll need:
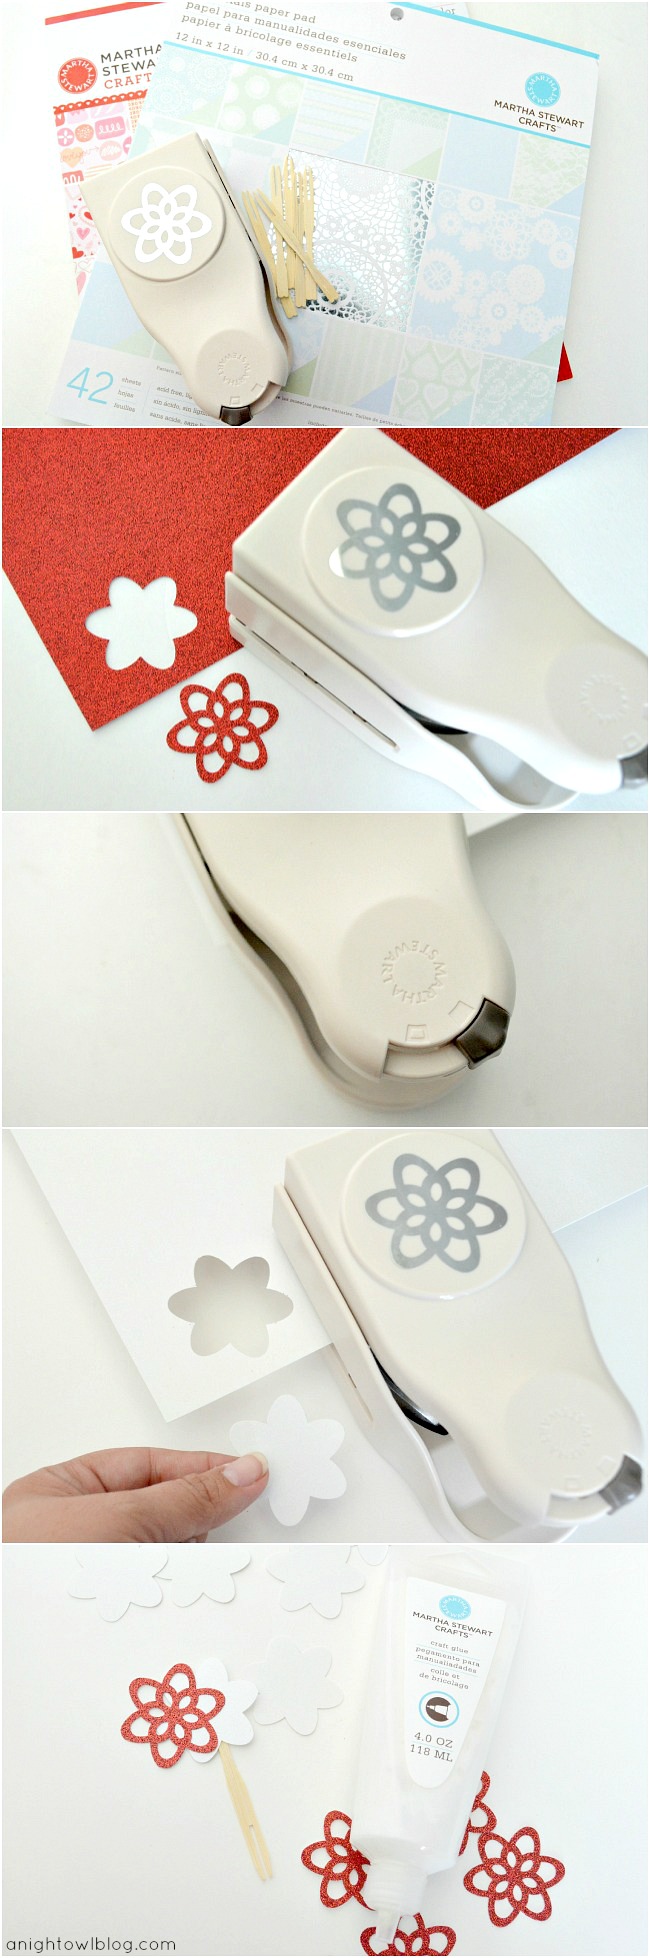
- Martha Stewart Crafts Paper
- Martha Stewart Crafts Layering Paper Punch, Wildflower
- Martha Stewart Crafts Craft Glue
- Bamboo forks, craft sticks or toothpicks
And the steps:
- On the die-cut setting, punch out flowers for your toppers.
- Switch the punch setting to the solid shape.
- Punch out corresponding solid flowers for your toppers, two for every die-cut flower you have.
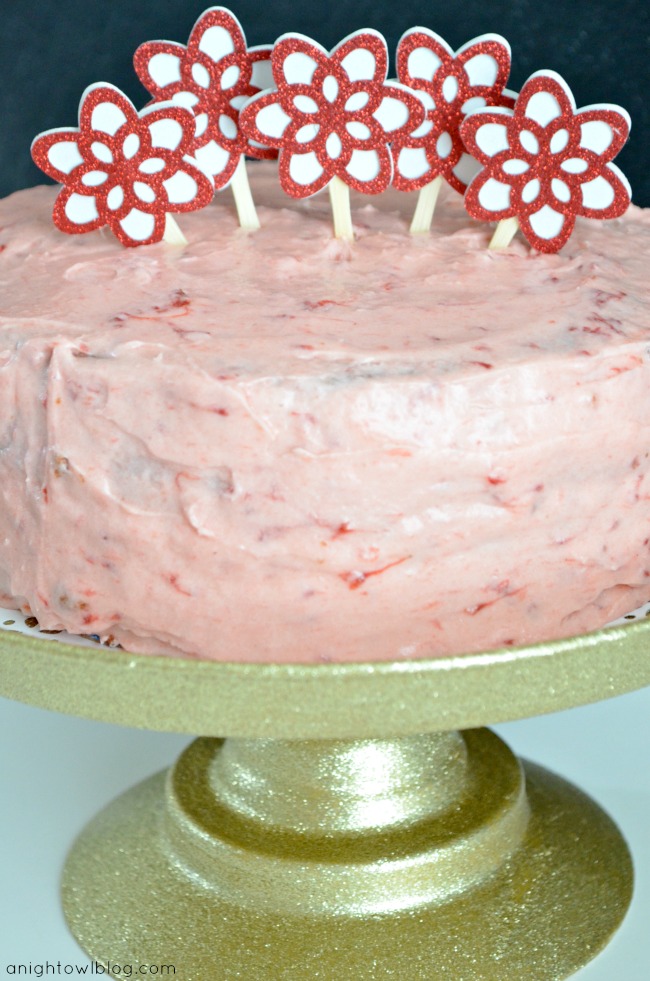
- Using craft glue, glue the die-cut flower onto a solid flower, then glue that solid flower to the top of a bamboo fork, craft stick or toothpick for your cupcake topper.
- I also chose to glue another solid flower to the back of the topper so that the bamboo fork was covered on both sides.
Oh those layering punches are fun! They made the cutest toppers in almost no time! While I think they would be absolutely darling as cupcake toppers, here I wanted to add them to the cake on our new Glitter Cake Plate! And here’s how they turned out…
So cute, right? I had so much fun using the Martha supplies this month! Now remember, you can pick up these same Martha Stewart Craft supplies from Amazon, Michaels or Jo-Anns. And what fun would it be if I didn’t share? As much as I love the punches, I’ve decided to share the love by giving one away! So enter today via the Rafflecopter below!
Disclosure: I received Martha Stewart products to use, but all opinions, projects and pictures are my own.
TERMS & CONDITIONS: Giveaway is open to US residents ages 18 and over and ends at 11:59pm EST on May 8, 2013. By entering you give the right to use your name and likeness. Number of entries received determines the odds of winning. Approximate retail value is $24.99. One winner will be selected. All liabilities and responsibilities with product is directly responsible by Martha Stewart Crafts. Winner will drawn by random.org from all verified entries, contacted by email provided, and announced on this page at the end of the contest. Winner has 48 hours to respond or prize will be redrawn. Entrant is responsible for the email address they provide, whether through typing it directly or through the Facebook entry method. A Night Owl is not responsible for lost or misdirected emails. All prizes will be awarded. No prize substitutions allowed. This promotion is in no way sponsored, endorsed, administered by, or associated with Facebook and we hereby release Facebook of any liability. Information is provided to A Night Owl, not to Facebook and your information is never sold or shared. Facebook is not a sponsor of this giveaway. Prize is mailed or emailed directly by Kimberly Sneed of A Night Owl and requires confirmation of delivery. Protected tweets do not count as an entry method for tweeting. Tweets must come from a public account. No purchase necessary. Void where prohibited by law.
Listed at Blog Giveaway Directory.

Love how this turned out! Great idea 🙂 LOVE Martha!!
Love your project this month! Super creative as always!!!
Oh soooo pretty Kim!!!
Love the glitter cake plate & flowers!! So pretty as usual!! Love it!!
I love the glitter! Putting glitter on anything is instantly awesome!
This is beautiful! Great idea!
I’m not much of a glitter fan but that plate turned out so cute!!
what a cute idea to spice of a cake stand! love it!
Umm, I need to find a cake stand and do this!!!!!
Question, how does the top work out with cake, and it not getting scraped? Or when it’s washed? I’m worried glitter is going to eventually come off.
Lovely job! Would you mind pinning this craft in my blog hop?
Love this glitter cake plate! (And, thanks for the giveaway!!) I am in the middle of making one for my son’s b-day. Just waiting for the E6000 glue to dry before I spray paint it!! 🙂
Thank you Kim! Good luck with the cake plate and the birthday!
LOVIN the glitter cake plate! So cute! Jenna @ Rain on a Tin Roof
First of all this is super cute! I wanna do something like this for the plates for my sisters bridal shower. This is probably a dumb question but is it safe to put food on the glitter? Did u let it dry really well before u used it? Great project!
Thanks Michelle! Not a dumb question at all! I actually should add a note to the post. I put down a paper layer between the cake plate and the cake, so no I don’t think you should put food directly on it. I mean I don’t think it’s toxic, but I wouldn’t consider it food safe. Hope that helps!