DIY Round Cork Art
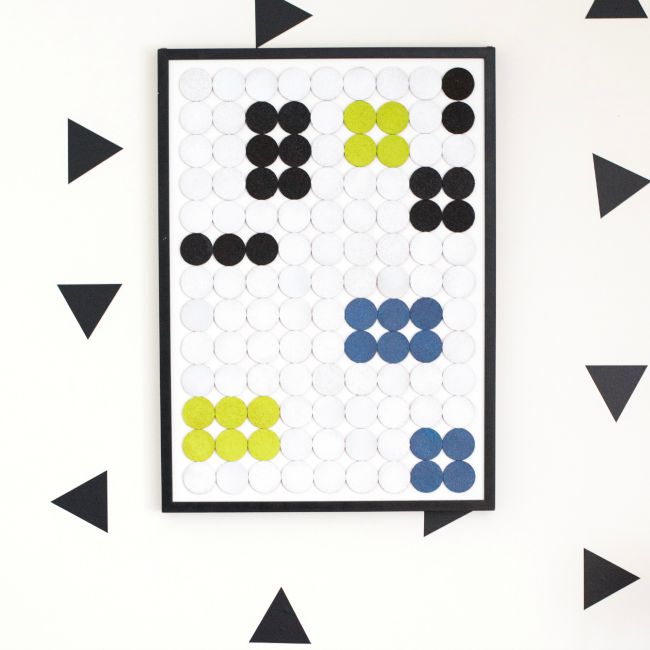

Hi everyone, it’s Amanda again from Let’s Fête. So excited to share this inexpensive and impactful art solution. I’ve been searching for a simple idea for my boy’s bedroom wall ever since they started sharing a room several months ago. And let me tell you, this one takes maybe two hours to make if you’ve got the goods on hand. And part of that time is waiting for paint to dry! So here’s how you make this DIY Round Cork Art!
What you’ll need:
- cork rounds (I used Make Market brand from Michaels – 100 to a $12 pack)
- spray paint in colors of your choosing
- frame
- foam board cut to size of the frame, and inserted
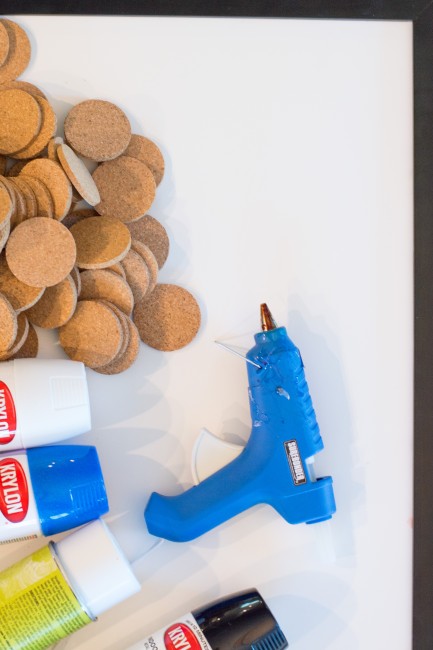
Now, this is how you create your masterpiece!
For the frame, you can really use something you have lying about, or go to the broken section at Michaels and get something without the glass. You don’t use the glass because of how thick the cork is. Cut your foam board to fit in the frame, and then put it all together, like you’re framing the foam board.
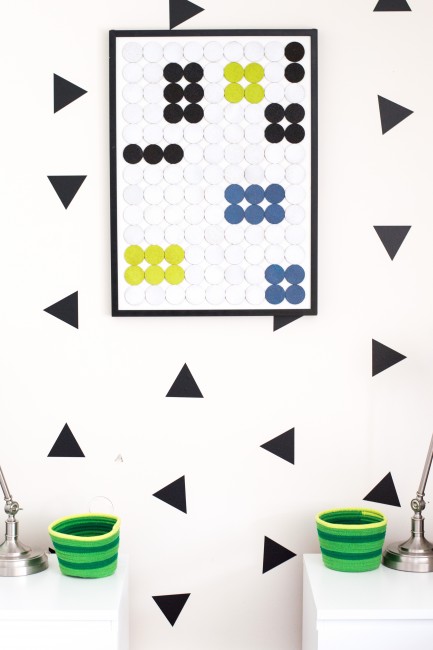
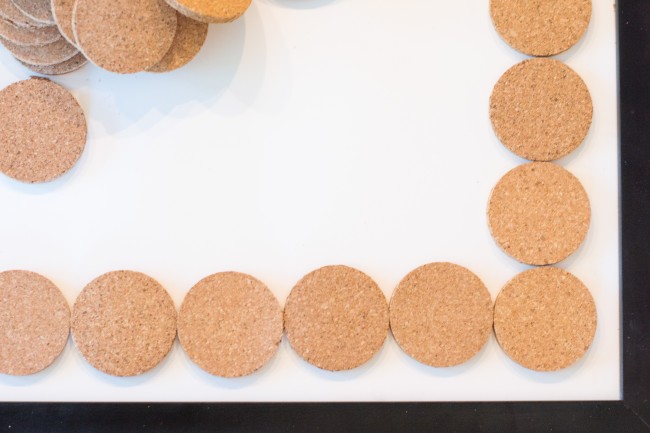
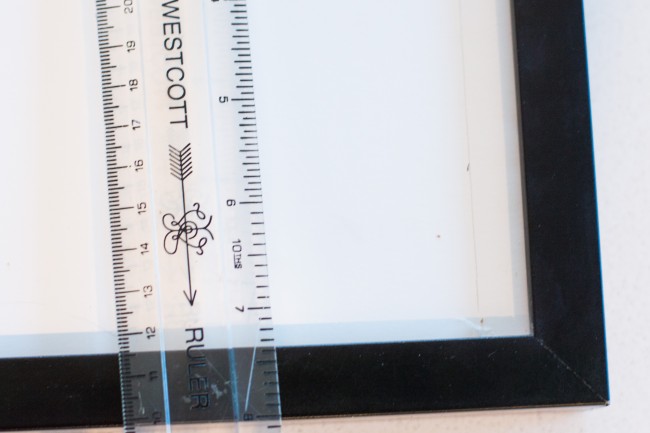
Now, lay out all your cork circles on your board, so you can determine how many you need, and if you need to leave any space around the edges. I used 117 (13 rows of 9). I needed to leave some space around the edge of the board because my rounds didn’t fit in there perfectly. Just measure how much space you need on each side to keep it even, and then use a ruler and light pencil to mark it out. This gives you a guide when you’re putting the rounds in later.
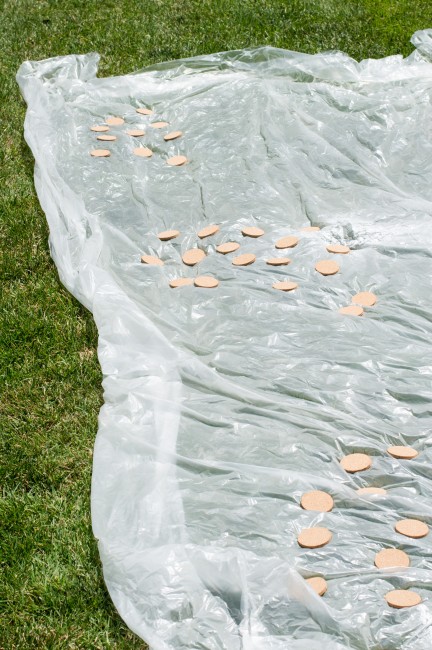
Take your naked rounds outside so you can spray them! I laid down some plastic and just went for it. Using some of the colors I’ve repeated throughout my kid’s room, white, black blue and green. You’ll need several coats because the cork is so absorbent, but it still didn’t take long and dries quickly.
Once dry, start laying out your art. I don’t glue down until I like the whole vibe of the placements. I laid it out, and then made several adjustments after that. Totally worth this extra step, even though I typically like to just wing it!
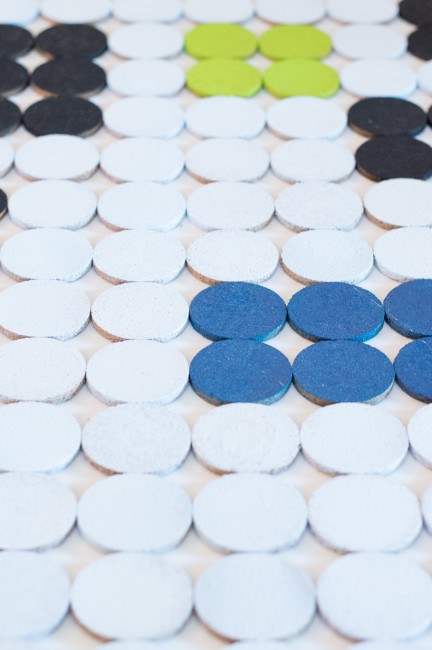
Once you like the way it looks, start to hot glue those babies one by one. I suggest going from outside/top/bottom in, making sure the outer rounds line up with the pencil lines if you have them. Helps keep everything straight as you go.
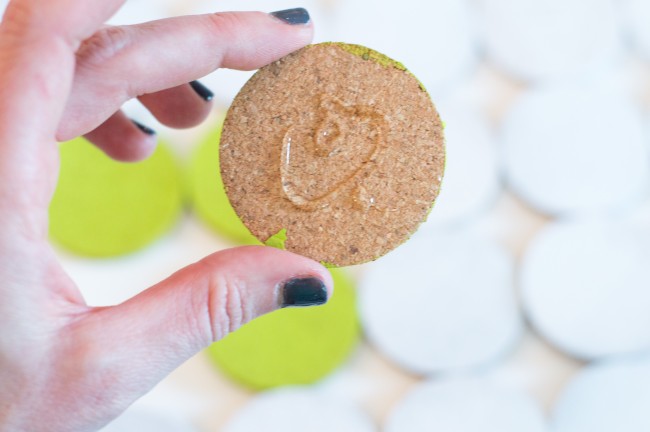
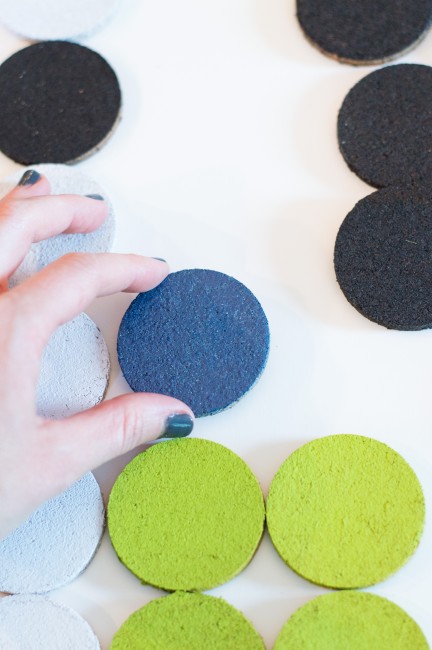
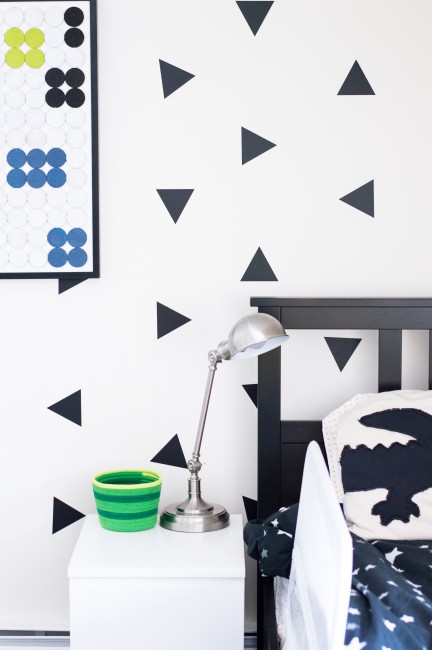
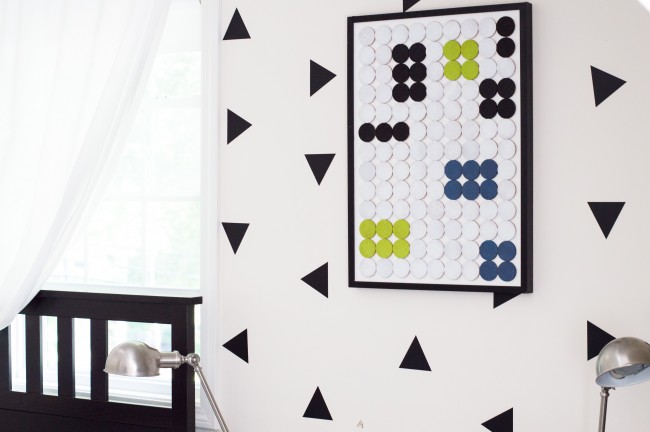
Once you’ve glued all your pieces down, erase the pencil marks and you are good to go!! I really love how graphic this is, and the texture of the cork is a major win. You could use paper and just a 2 inch punch or something…but I think you’d miss the texture the cork brings. Come check out some more about how I bring my home to life here and here. We tend to have a lot of fun!
