{Thrifty Thursday} Baker’s Delight Gift Basket

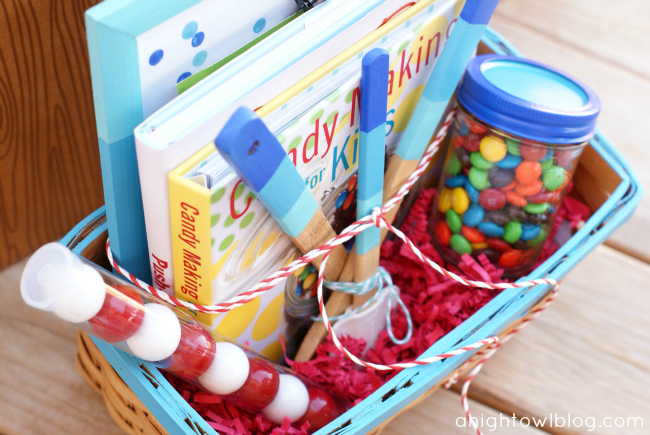
Hi friends! We’re doing something a little different this week with Thrifty Thursday. It’s just about gift-giving season, so today I’m sharing with you a quick and inexpensive way to put together an adorable gift basket for those bakers in your life! I started with a couple of fabulous cookbooks from Courtney Dial Whitmore: Push-Up Pops and Candy Making for Kids! Then I updated a few inexpensive items to make it a complete package…
What you’ll need:
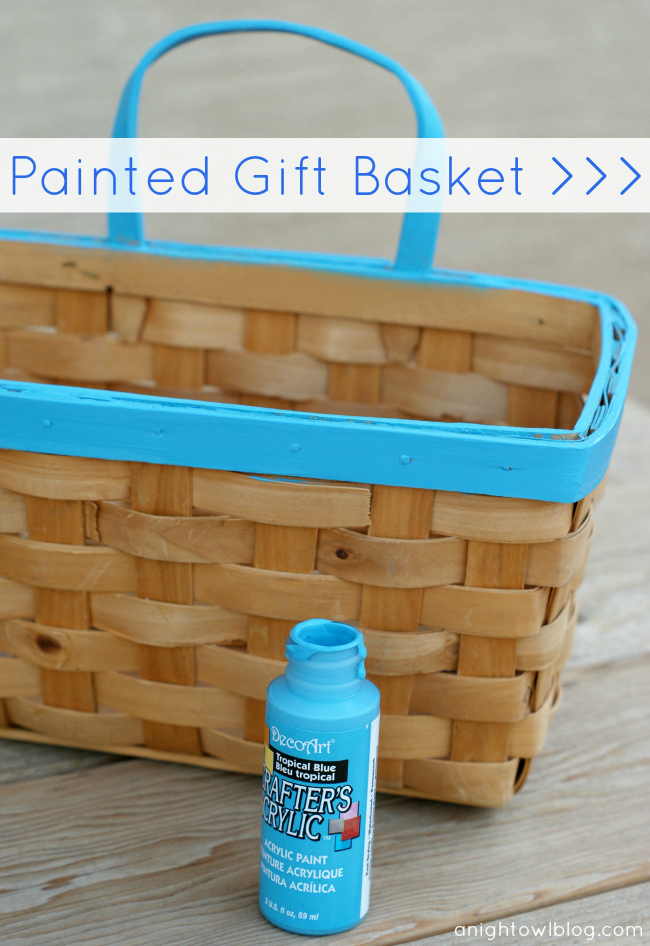
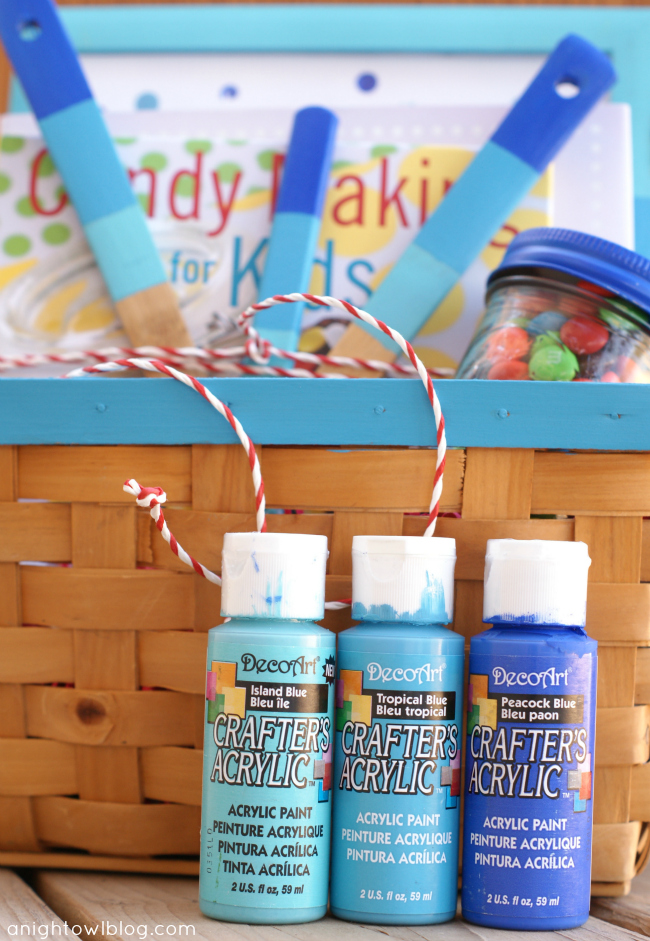
- DecoArt Crafter’s Acrylic paint – 3 ombre colors
- Basket
And the steps:
- I simply painted the rim and handle of this basket to give it a little pop!
What you’ll need:
- DecoArt Crafter’s Acrylic paint – 3 ombre colors
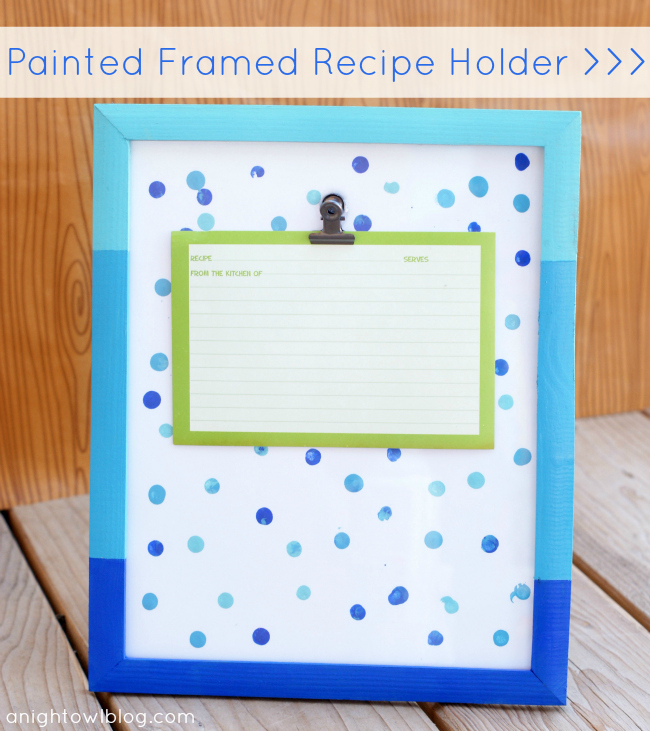
- Dollar Store wooden frame
- Scotch Blue painter’s tape
- 8×10 paper
- Pencil
- Clip
- E6000 or glass glue
And the steps:
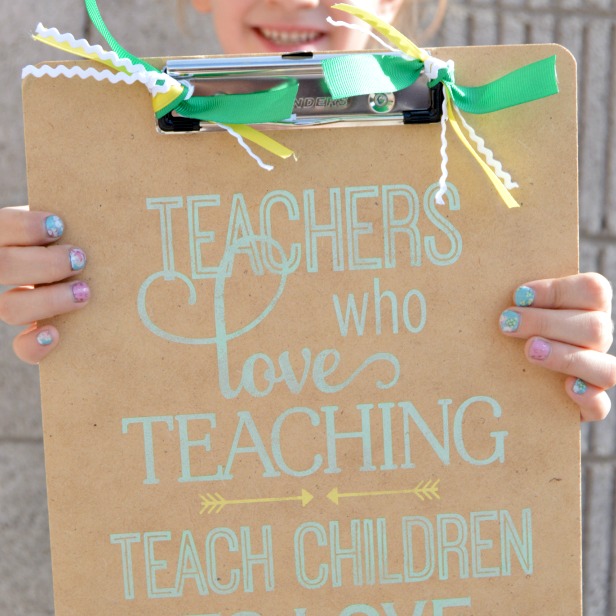
- I taped off the frame to make three different sections to paint the frame in each color
- On the 8×10 sheet of paper, I simply dipped the eraser of a pencil in each color to make a polka dot background
- I then used E6000 to glue a clip onto the front of the frame to hold recipes
What you’ll need:
- DecoArt Crafter’s Acrylic paint – 3 ombre colors
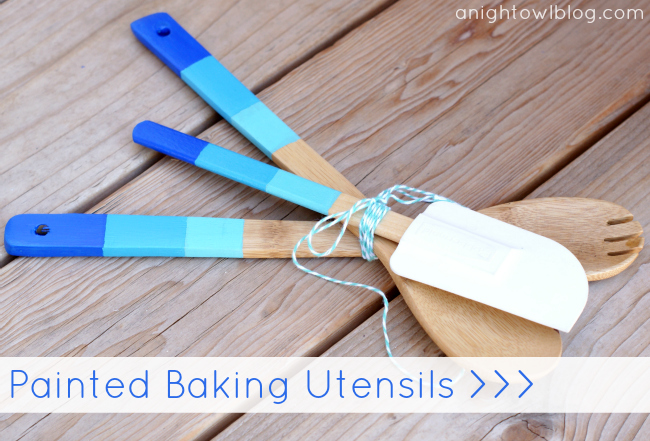
- Dollar Store baking utensils
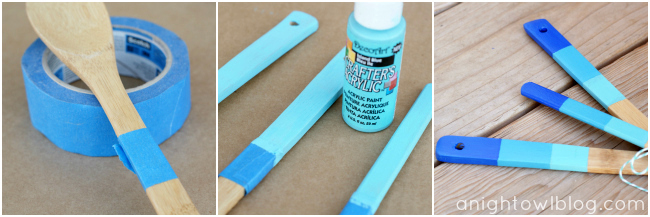
- Scotch Blue painter’s tape
And the steps:
- I simply taped off three different sections of the end of each utensil to paint in the three different colors I had
What you’ll need:
- DecoArt Crafter’s Acrylic paint – 2 ombre colors
- Mason jar and lid
- M&M’s
And the steps:
- I painted the lid and the ring two different colors
- Now since the lid is metal, I ended up doing 3 light coats of the paint to achieve the coverage I was going for
- Then I filled it with M&M’s – yum!
And with all of the pieces put together, adding in some red paper filler, a TomKat Studio gumball tube, and tying it all up with some baker’s twine, here’s the finished product!
And a special thanks to the great folks over at DecoArt for providing the paint for this project! It’s a great product to work with!
So what do you think? I know it was a long post – I hope you stayed with me until the end here! And I hope it helped to give you some fun and easy ideas of ways you can spruce up your gift baskets this holiday season with just a few dollars and a lot of fun!
linked up here, create & inspire, tatertots & jello, the 36th avenue, tip junkie, i {heart} naptime, frugal girls, home stories a to z, savvy southern style





Love this! So creative! It turned out great!
LOVE the fun blue hues and such a fun idea!! 🙂
That’s an incredible idea! Great way to give such a personal and memorable gift!
What a great idea! So personal and thoughtful! Thanks for the idea, Kimberly!
Hi Kimberly, This project is so creative. Did you use any kind of sealer on the paint? Would it wash okay, particularly on the spatulas?
Hi Judy! I did a clear coat of spray paint just on the ends. I’ve washed them by hand since, so far no issues!
While this is a cute idea, did you ever wonder why wooden cooking utensils are never painted? It’s because it’s unhealthy. As long as you make sure to let the recipient know they shouldn’t actually USE them, it’s fun.
So very cute! I love gifts like this–practical yet cute as can be! Pinned it.
Oops, here’s my latest post.
Awwww, so cute!! Great gift and so cute!!
this is a great gift. I love it. I have a link party called Wednesdays Adorned From Above Link Party and would love to have you share this with everyone. Here is the link to the party.
https://www.adornedfromabove.com/2012/11/mason-jar-center-piece-and-wednesdays.html
Debi @ Adorned From Above
This is a great idea. I have an extra copy of that book. I might make up a similar basket.
What a fantastic gift idea! I love all of the beautiful colors you’ve incorporated in it. Megan
What a fantastic basket! It looks really nice. I’m sure, the recipient will be glad gigantically. Such small gift baskets catches on always, I think. ☺
Kind regards from Germany
Gabi
I love the blues used, Kimberly, awesome!