
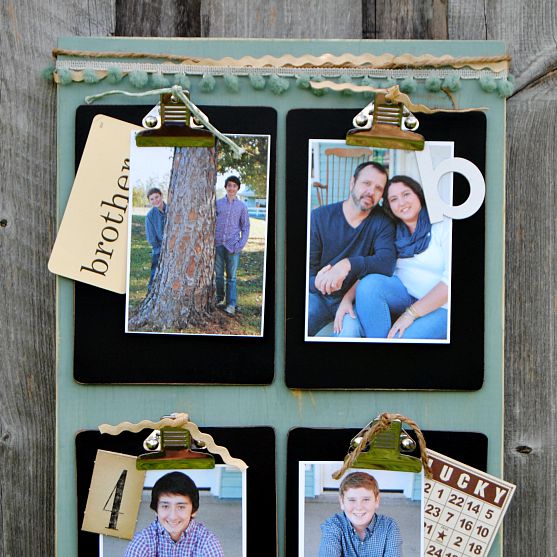
Clipboard Photo Display

You can ask my husband and he will confirm that I am the worst about displaying our boys’ school pictures and family photos. My scrapbooks are started but pitifully undone and there are hundreds of digital pictures just sitting in the folders of my laptop. So, when I was browsing the Dollar Spot in Target and spied mini chalkboard clipboards for $1 … I decided that I would create a display that made it easy for me to finally display some of our family photos in our home!


What you’ll need:
- Wood Board – mine is 18 x 11
- Sand paper
- Paint & paintbrush
- 4 mini chalkboard clipboards {I scored these in the Target dollar spot for $1 each!}
- Pencil
- 4 silver thumbtacks or small nails
- Various trim, ribbon, twine, ric rac, etc.
- Hand Stapler (not a desk/office stapler)
The how-to:
- Sand the board to remove any rough edges.
- Paint the board with your favorite color of paint. I used chalk paint but acrylic paint or spray paint would also work.
- Once the paint is dry, use the sand paper to distress the edges and face of the board. This step is completely optional but I love rustic décor, so I tend to distress everything!
- Secure lengths of pom pom trim, twine, ribbon, etc. around the top of the display using the hand stapler. You can also use craft glue – just allow for drying time before handling the board. Again, this is decorative and optional, but I think it adds a little whimsy to the display.
- Lightly distress the edges of the clipboards.
- Tie a piece of trim, ribbon or twine through the clip of each clipboard.
- Arrange the clipboards and use the pencil to mark where the thumbtacks or nails will be placed.
- Place thumbtacks/nails and secure or hang the clipboards.
- Clip in your favorite family photos, memorabilia, scrapbook embellishments and anything else you want to display!
And let’s pretend that I remembered to write on the mini chalkboard clipboards … they are the perfect place to add notes about where the photos were taken, the event or the date! I also attached various scrapbook embellishments like a chipboard ‘b’ for our last name, a brother tag behind the picture of our two boys, a fun vintage bingo card that says lucky and the number 4 for our little family!

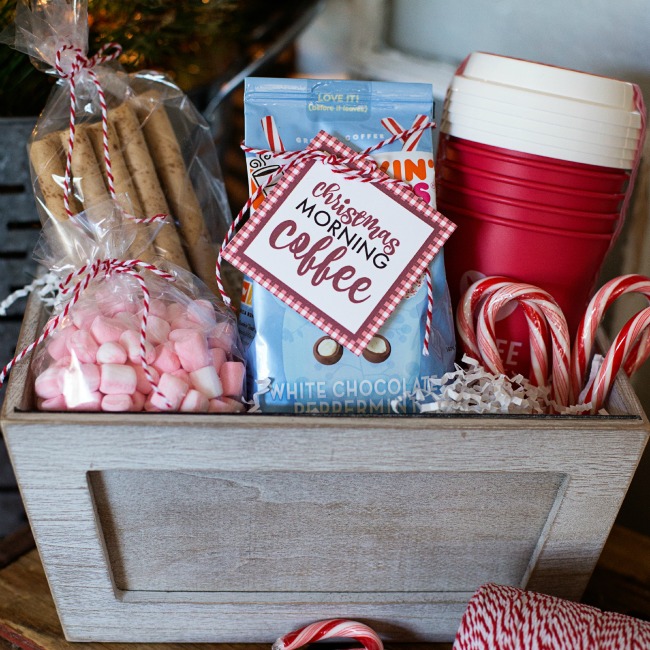
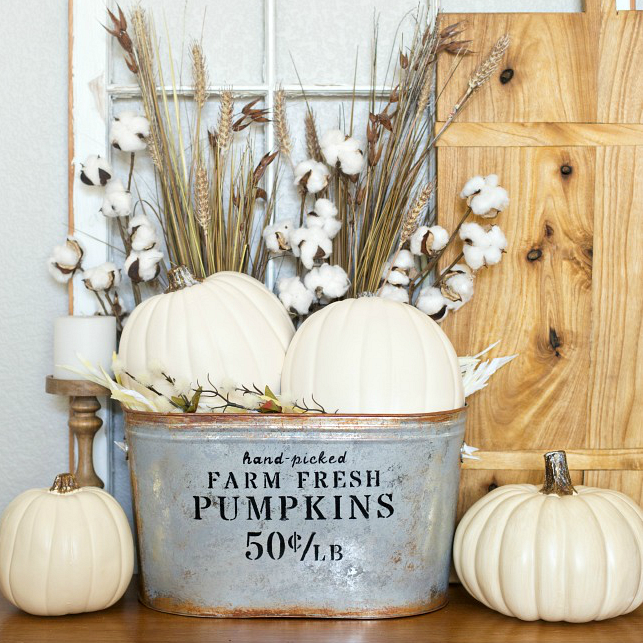
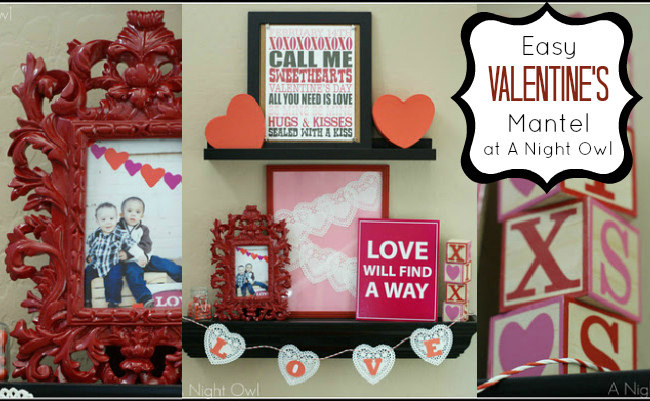
Before I go, how about a few more of my favorite projects from Shaken Together?!


This clipboard is super cute! What a fun project!
Paige
Thanks Paige – I love being able to change out the pictures for a new event or holiday!
I absolutely love this! Super a unique way to display the photos and you can personalise it so easily. Such a good idea 😀
Holly X || agrlcalledholly.blogspot.co.uk
Thanks, Holly! The colors and trims could totally be switched up for a girl or boys room, to match your family room, etc. Great for an afternoon project!!
Super cute!! Cute way to display pics!!