
Hi! It’s Amanda from
Let’s Fête back with a kid’s activity DIY – not that kids will make this, but they’ll play with it when you’re done! This is for all of you who have kids who love to race. Recently my son asked for his birthday party to have ‘race cars and noise’ – sounds perfect for a three year old, right?! Well, I got to thinking about an activity for the kiddos, and clearly I needed something that involved racing. My mind was spinning…build a race track they can run around (dial it back, lady, way too ambitious), should they dress up like race car drivers (sounds fun, but then what?), how about a
DIY Race Track for matchbox cars?! So, I went with that.
I had a few extra pieces of plywood from a shelf building project I did a while back, and they seemed the perfect size for an inclined race track. With that in mind, I started considering ways to make dividers on the board so the cars would stay in their lanes (can you imagine a bunch of preschoolers not able to find their cars? No good). A quick trip to the hardware store and I had my answer – self-sticking vinyl foam weatherseal. This provides the perfect little ledge to keep the cars in their lane…and is so dang easy to apply since it has adhesive on one side…brilliant (if I do say so myself!)
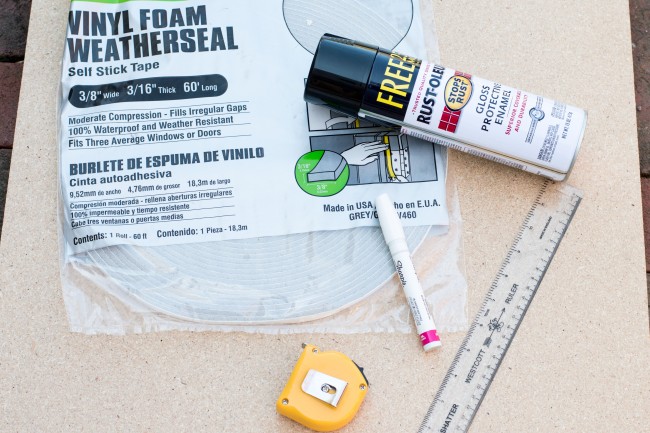
What you need:
- plywood boards (I used 4×2 feet) – most home stores will cut sheets to size if you don’t hoard scraps of wood like I do.
- self-sticking vinyl foam weatherseal (I used this)
- black spray paint
- tape measure or ruler – for keeping those lanes as even as possible
- white paint pen
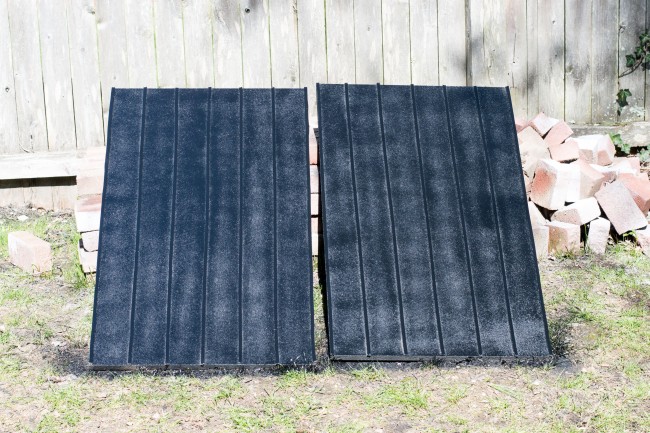
First, put the foam window stripping along the two sides (long way, people, you need some space to race). That keeps the cars on the track. Then measure out six lanes and mark along the top and bottom of the board. To keep it as brainless as possible I marked the center point first, and then broke each half into thirds. Voila, six lanes.

Now lay down that window stripping along your guides. The nice thing about having the markers on the top and bottom is that you hold at the top and bottom and then stick down. Straight enough, right?
Once you have all your lanes divided, spray the whole thing black. I needed a few coats, but it went on really easily and didn’t take much effort.
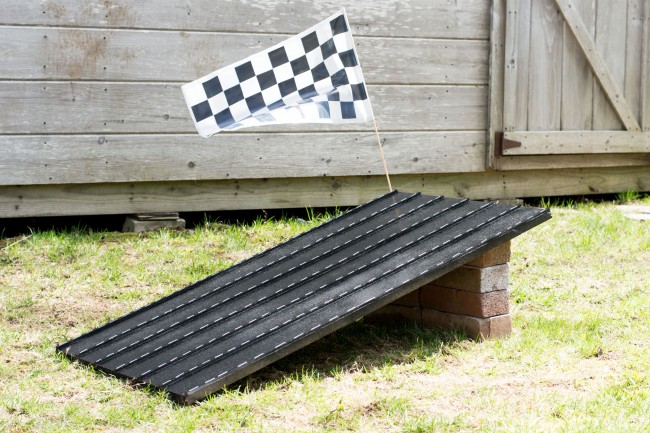
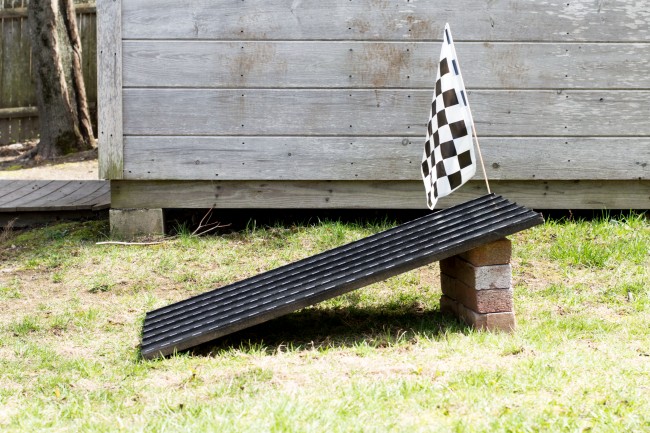
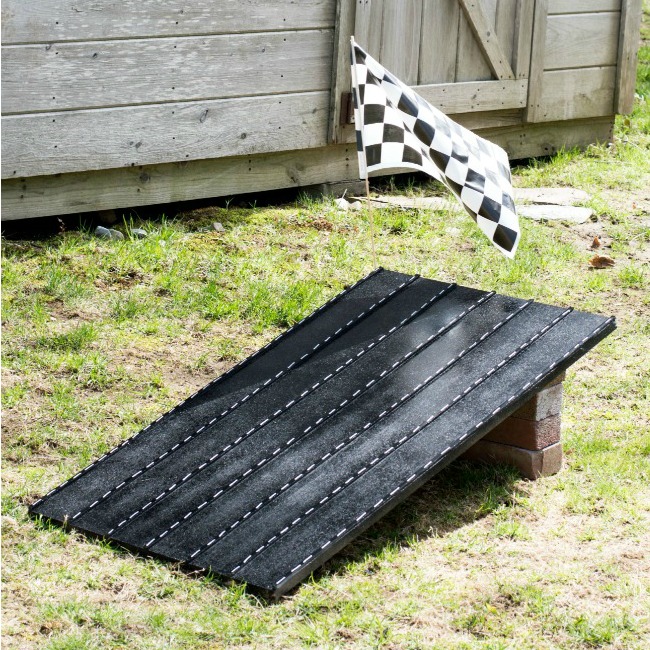
Once dry, use the white paint pen on the lane dividers and draw a dashed line just like on a highway.
Prop one end up (we used a few bricks, which gave enough traction, keeping it from slipping down and smooshing little toes), and you’re ready to race on your new DIY Race Track! I decorated with a checkered flag, which I think is a nice touch too.
 Check out the full Race Car Fiesta birthday party post here, and follow me over on Instagram for some ongoing inspiration!


This looks like such a fun thing to create for my boys – now to share this DIY project with the husband haha!
Thanks for sharing! This will be perfect for my son’s monster truck birthday and looks easy enough that I can do it (not just my husband).