Back to School Teacher’s Chalkboard Tote with Michaels
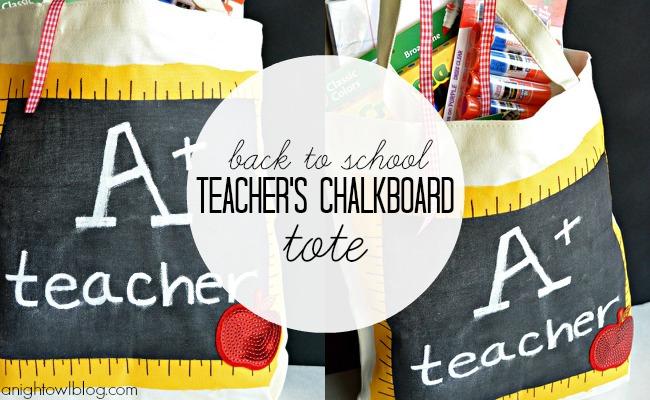
Thank you to Michaels for sponsoring this Back to School Adventure and craft project!

Hi friends! Is it time for Back to School in your neck of the woods? We’re well underway here in Arizona, which means it’s time for some Back to School creativity! So when your kids start back to school, do you get that list of what the classroom would LOVE for you to contribute? You know, paper, pencils…well my list is more markers, crayons and glue sticks at this point, but you get what I mean, right? Last year I hauled in a plastic Target bag full of stuff and that was nice and all, but I thought – this year I want pack all the supplies in a cute tote bag instead!
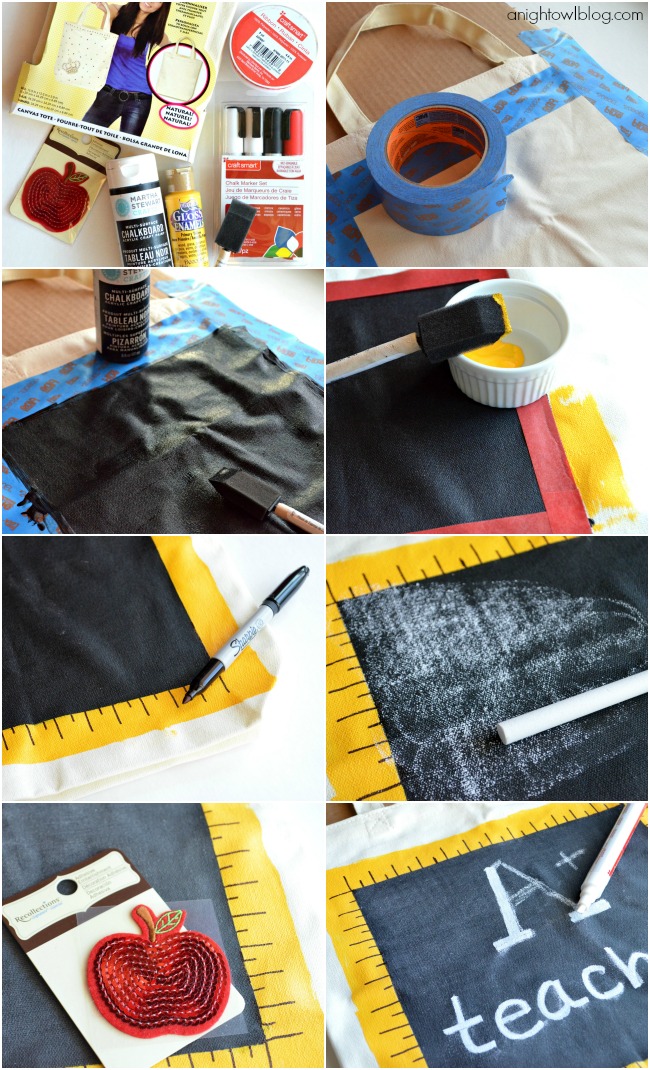
So I headed to my local Michaels to pick up the supplies to DIY a cute tote that the teacher could use as she pleased once it was empty of the class supplies! Now I have a serious addiction to chalkboard paint, so Martha’s Chalkboard craft paint was a natural pick. Then some DecoArt Gloss Enamels in a lovely primary yellow would do the trick for a yellow “ruler” border! I found an adorable apple sequin applique that I knew would do the trick and lastly I could write a message or the teacher’s name in chalk – how fun is that? But here, let me break down this Back to School tote a little better…
What you’ll need:
- Back to Basics Canvas Tote
- Martha Stewart Multi-Surface Chalkboard Paint
- DecoArt Gloss Enamels in Primary Yellow
- Chalk/Chalkboard Markers
- Sharpie Fine Tip
- Foam Brush
- Recollections Apple Applique
- Painter’s Tape
- Decorative Ribbon (opt)
And the steps:
- I unfolded the tote back and stuck a piece of cardboard inside, so that any paint that might seep through the fabric wouldn’t get on the other side.
- I blocked off a square of the front of the tote with 3M painter’s tape and painted the inside with the Martha Chalkboard paint.
- I let that dry for 24 hours.
- I then used washi tape (optional) to block off the chalkboard edge (this won’t keep all paint out but will provide some coverage while not lifting previous paint) and painted around the edge of the chalkboard center with the yellow Gloss Enamels.
- Once that was dry, I drew long and short lines around the yellow edge with a fine tip Sharpie to give it the appearance of a ruler.
- I then primed my chalkboard by rubbing chalk all over it.
- Once I wiped the chalk off, I added the apple applique (self-adhesive) to the bottom corner.
- Then the tote was basically done, but I added “A+ teacher” as a fun starter message, filled it with Back to School goodies and tied it off with a little decorative ribbon!
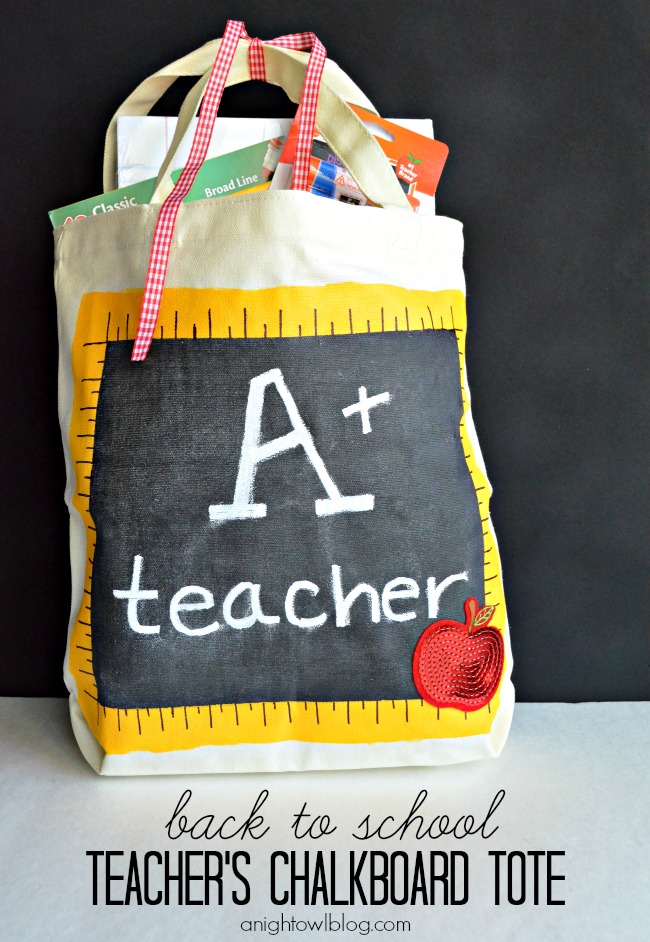
And voila! A perfectly cute, perfectly functional Back to School Teacher’s Chalkboard Tote!
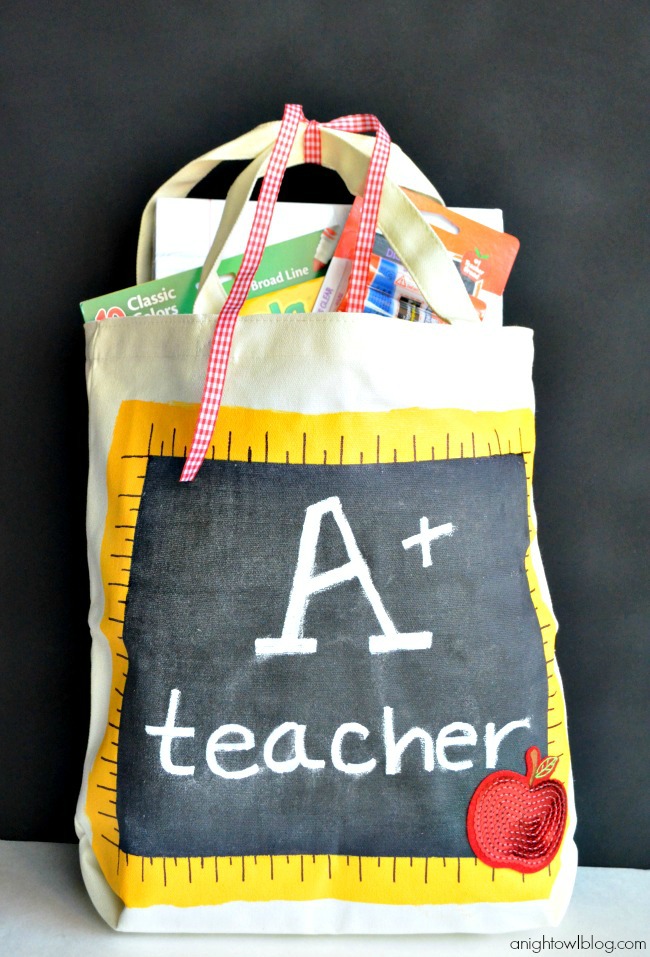
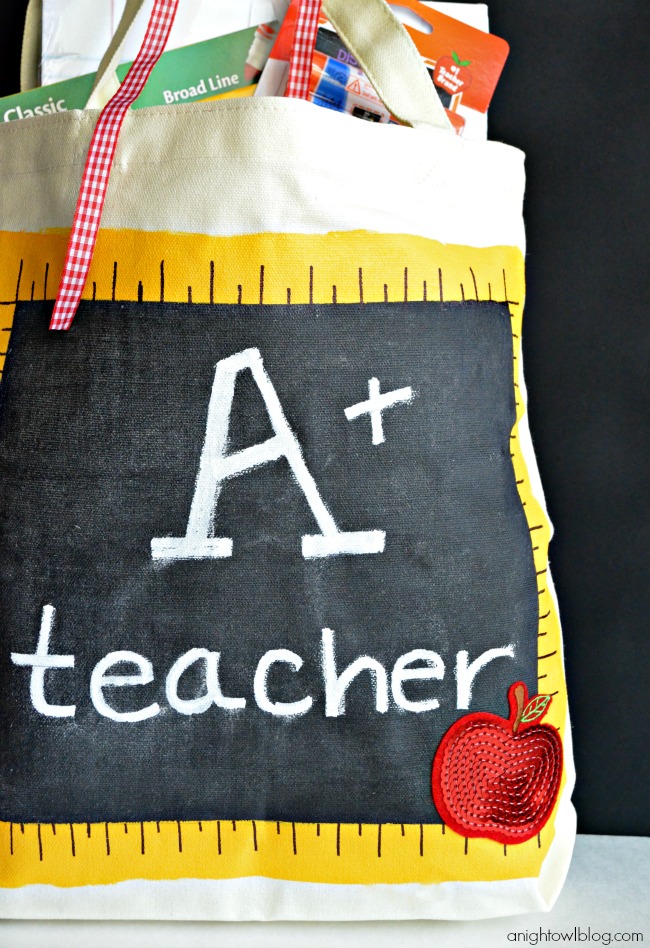
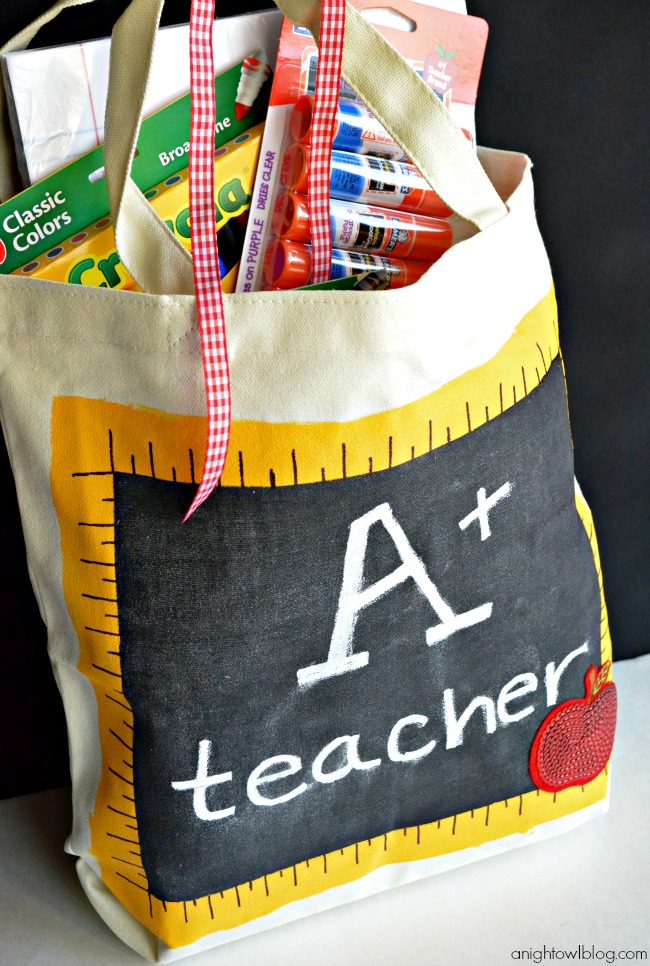
What do you think? I love how it turned out and hope AJ’s teacher will think the same! Are you ready for some Back to School creativity of your own? Well just know that you can get all you need and more from Michaels! Here are a few things you might not have known though about Michaels…
- Michaels offers a 15 percent discount for teachers every day. Make sure to talk to a store associate during your next trip to learn more.
- Need a large quantity of one back to school item but don’t see enough on the shelves? Michaels offers a bulk ordering program where you can order as many supplies as you need and save up to 20 percent.
- Don’t forget to download the Michaels app (from iTunes or Google Play) so that you will always have the latest deals and coupons at your fingertips in case you need last minute school supplies.
 Website | Facebook | Twitter | Pinterest
Now let’s get to creating! If you’re looking for awesome Back to School supplies – be sure to stop by your local Michaels for all you need and more!

Thank you to Michaels for sponsoring this Back to School Adventure and craft project!
linked up here, create & inspire, lil’ luna, tatertots & jello, the 36th avenue, i {heart} naptime, frugal girls, everything etsy

Oh my word. That is absolutely positively ADORABLE!!!
Thank you for this fabulous tutorial! I was just wondering whether you can wash away what was written with the chalk marker. Or is it permanent?
Thanks, Kathrin
Hi Kathrin! Ideally if you’ve waited the 24 hours to let the chalkboard paint cure and seasoned it with chalk before using, the chalkboard marker should come off. That being said, I haven’t tried! I’ve had it go both ways with chalkboard paint before, but I suppose worse case scenario you could paint over the chalkboard marker with more paint if it didn’t come off!
What a lucky teacher your son has! We aren’t quite to school aged yet but I am drooling over the adorable back to school crafts on Pinterest!
That is sooo awesome! How creative! You did a great job!
Such a cute bag! I really like the chalkboard and the apple! Great job!
Navy Wifey Peters @ Submarine Sunday Link Party